

One Idea I Want to Share this Week
About a year ago, I built a Kids Horror Stories project where I can take a photo of an everyday object, and the AI uses that image to write, illustrate, and narrate a short, spooky story, publishing it both on the website and as a podcast episode on Spotify via an RSS feed.
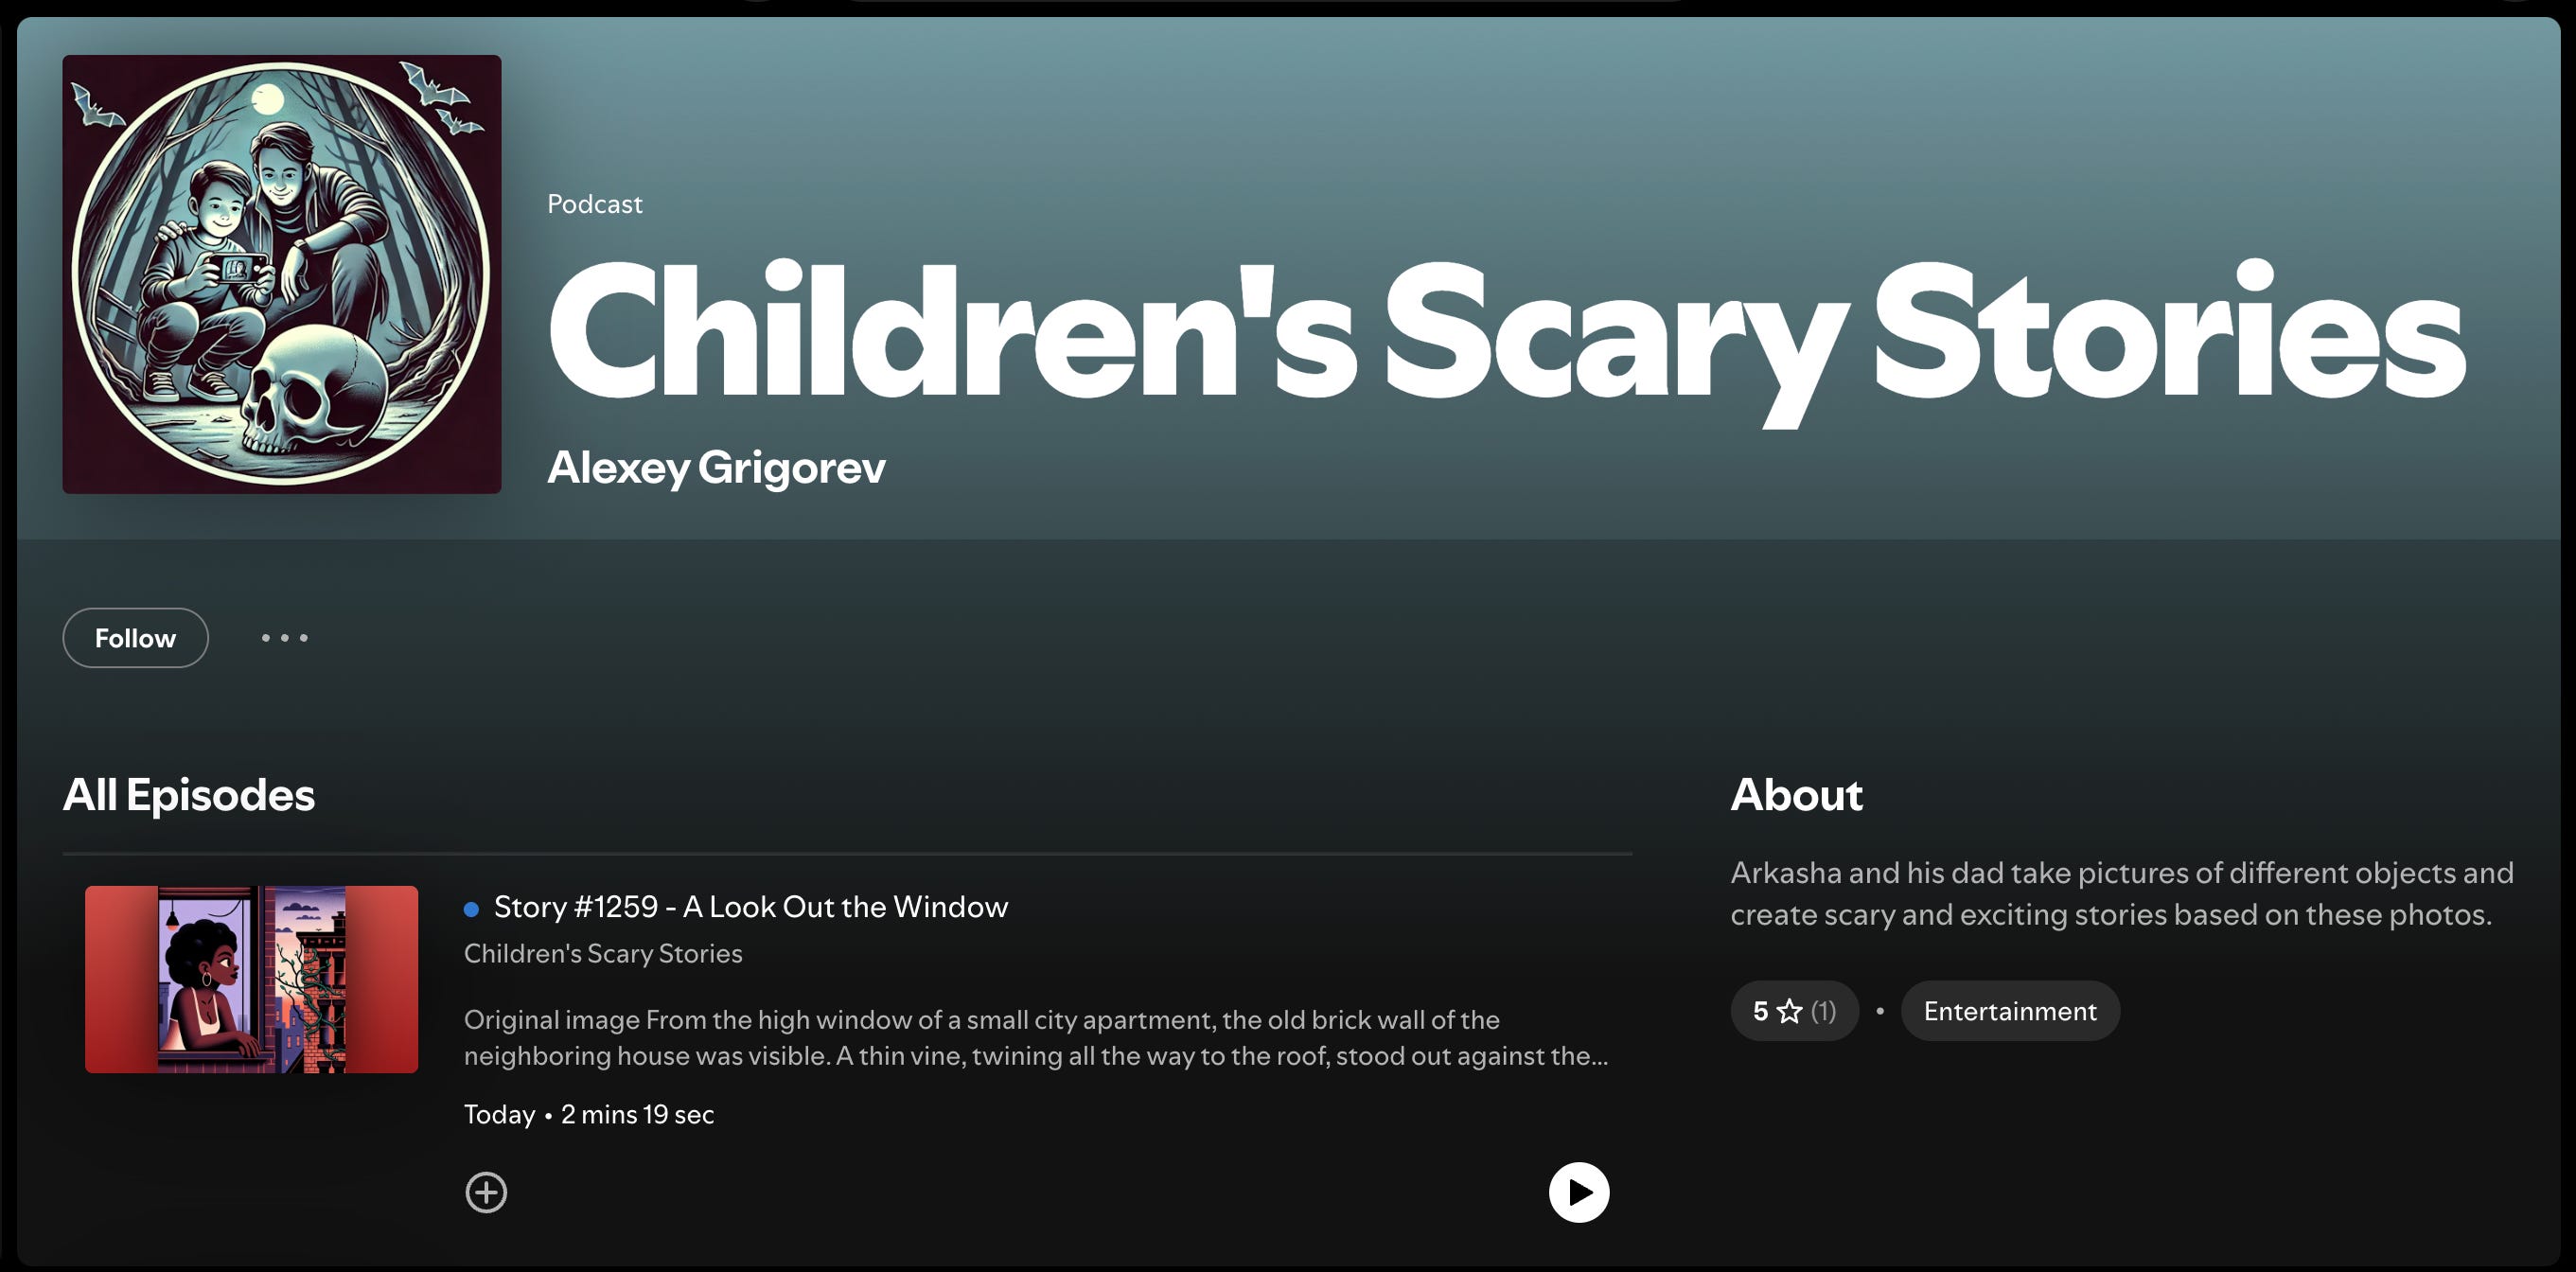
Right now, the site contains 1200+ stories. All the stories are in Russian, but I translated one of them so you can get a sense of the format and tone:
In this post, I want to walk through how the project is built: its architecture, scripts, prompts, and automation.
Inspiration: Storytelling With My Son
This project started with my son asking for scary stories.
During a walk, he pointed at a parked car and asked if I could make up a horror story about it. I improvised something, and he liked it.
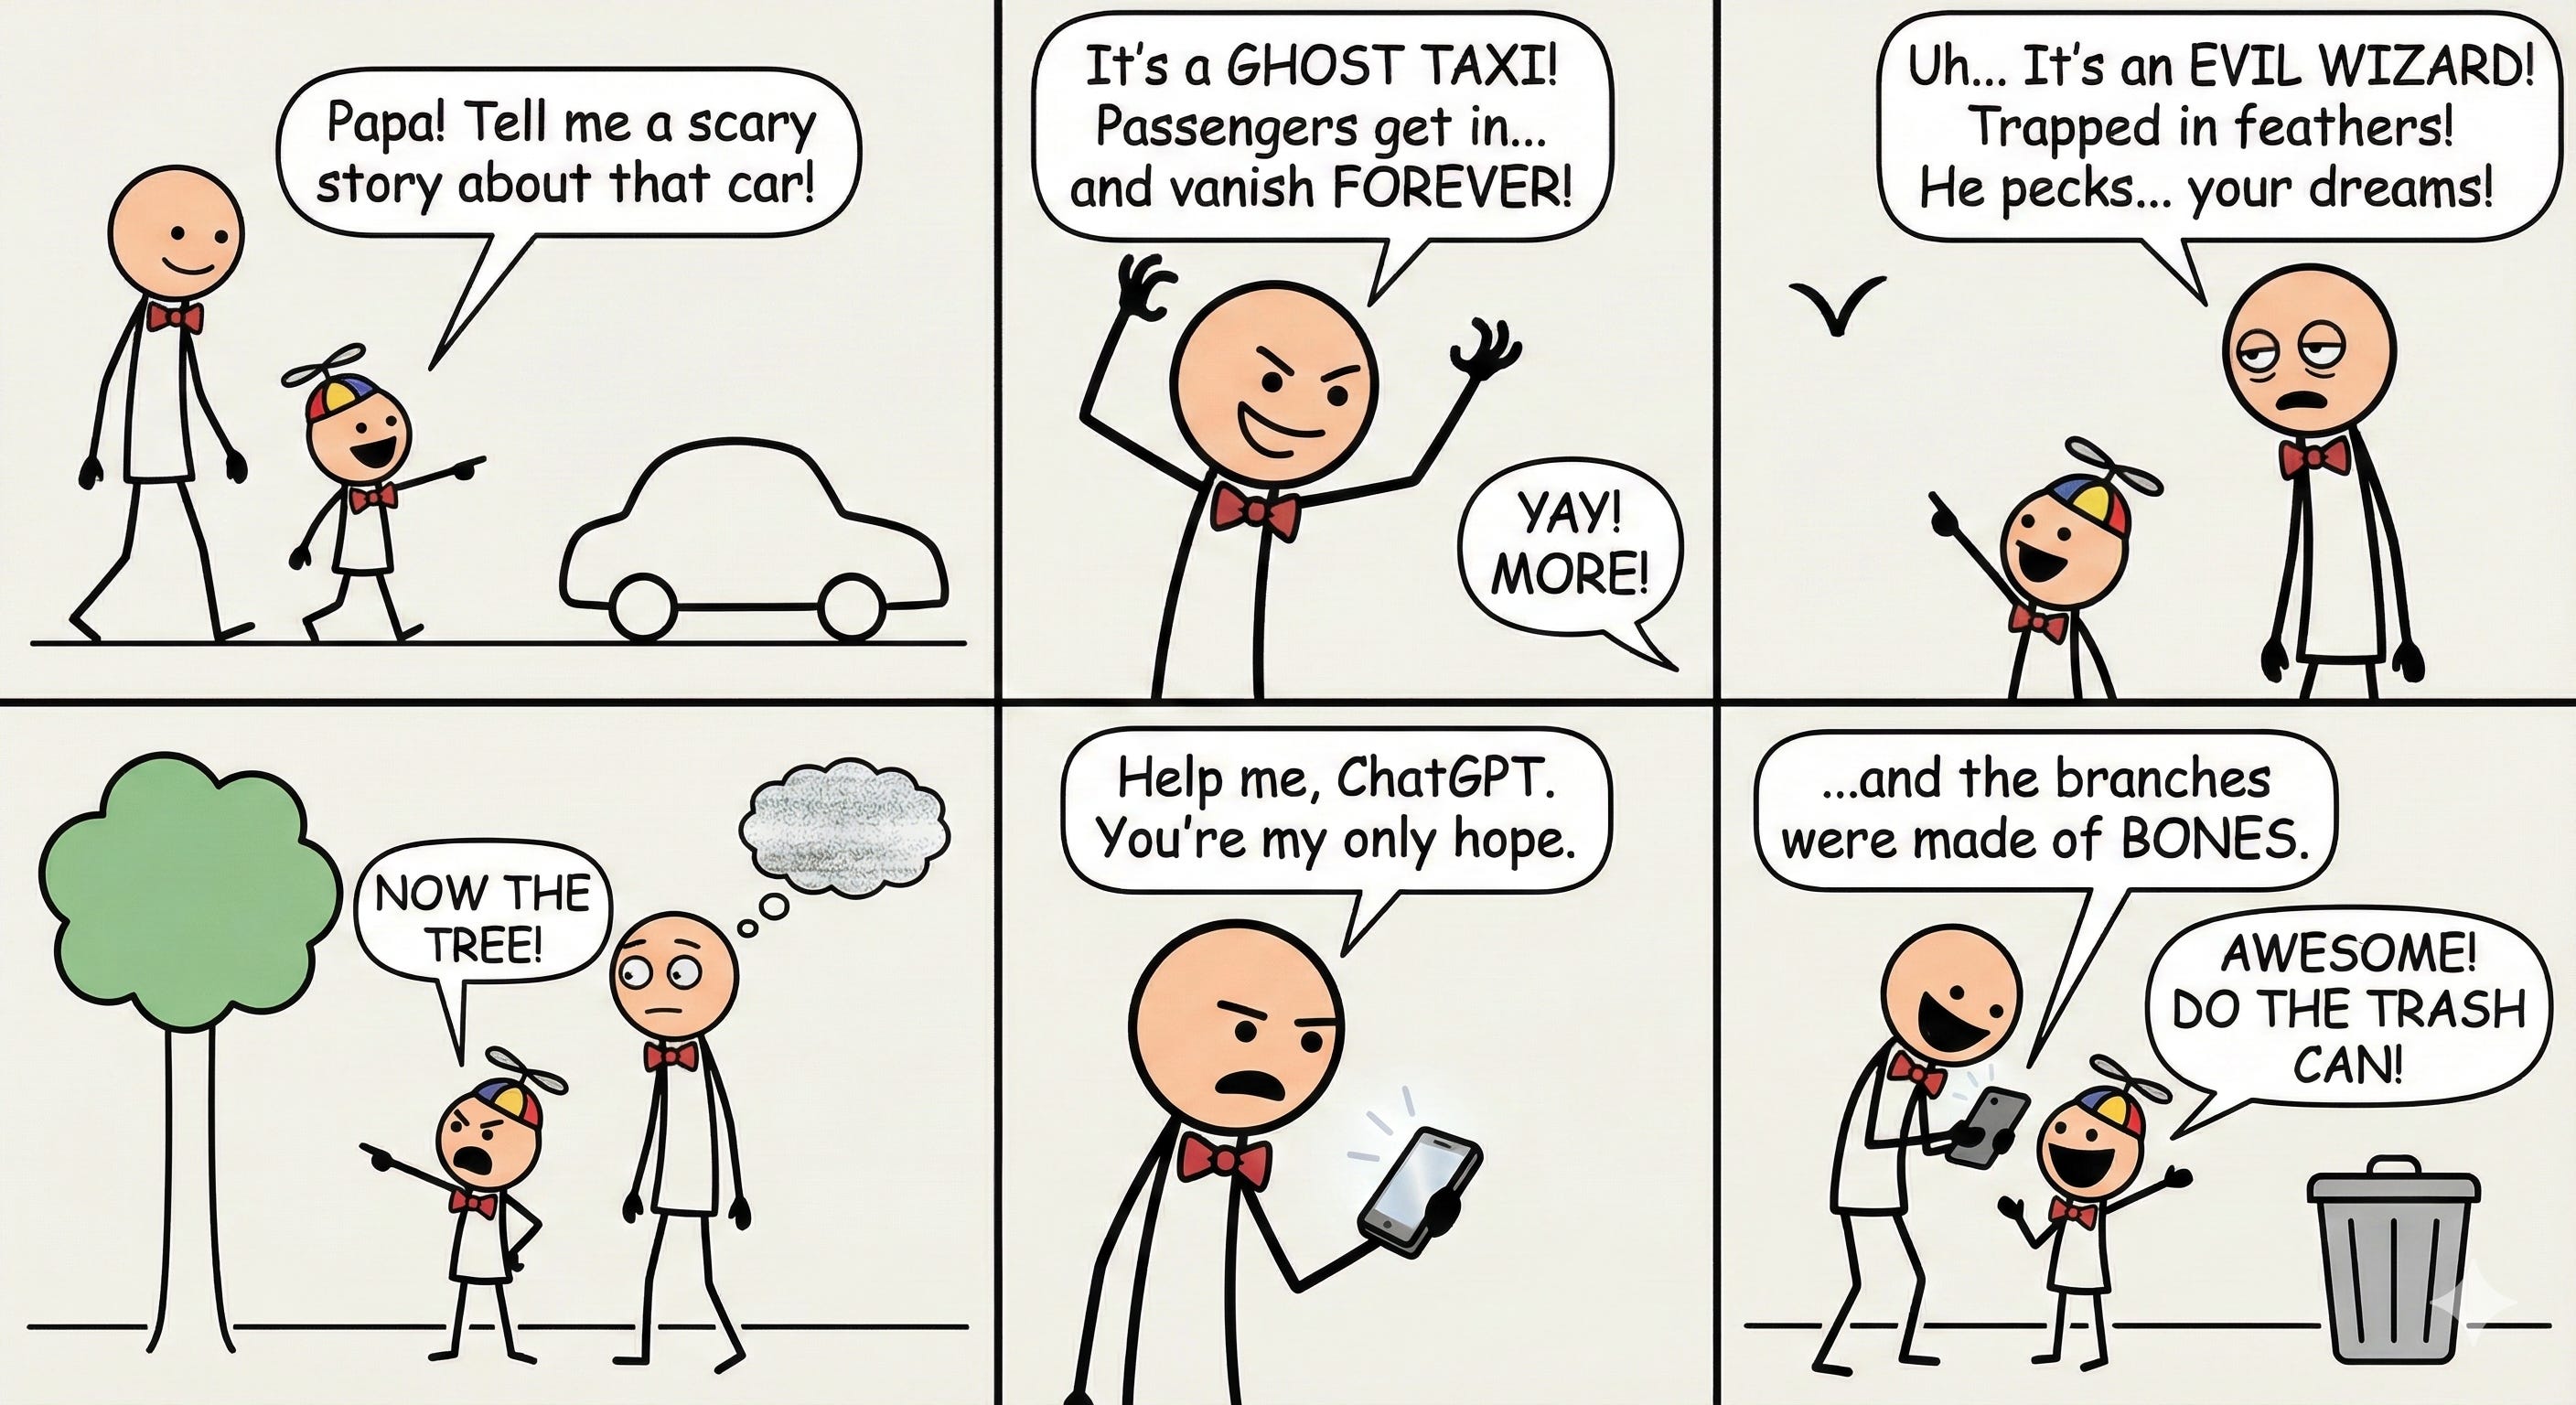
After that, he started pointing at more and more objects. At some point, I ran out of ideas.
When he asked for a story about a tree we passed, I did what felt natural to me: I took a photo of the tree and asked ChatGPT to write a scary story based on the image. The result was better than I expected. The tone reminded me of the short urban legends and campfire horror stories I grew up with: simple, sometimes a bit silly, but kids loved them.
We ended up spending the rest of the day taking photos of random objects and reading the generated stories together.
After a while, we had accumulated quite a few stories, and it felt wrong to leave them buried in chat history. So I decided to publish them somewhere.
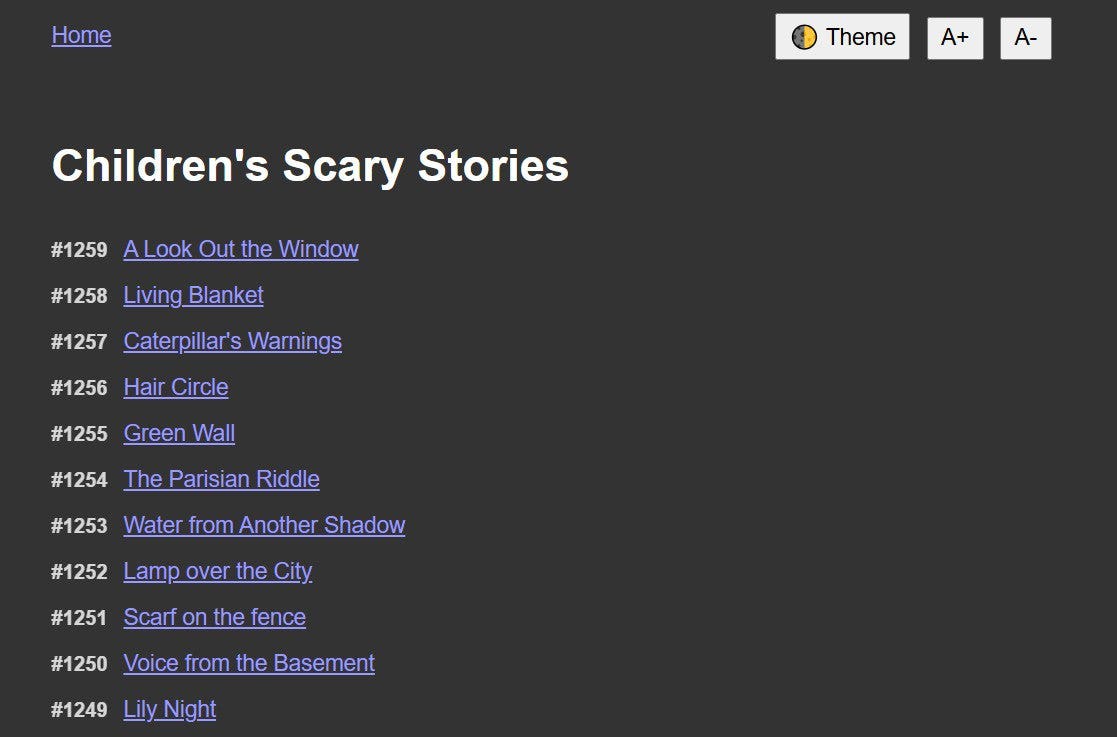
The fastest option was a static site, a small Jekyll project hosted on GitHub Pages. I already had experience with that setup, so it came together quickly.
The first version was minimal: just photos and text stories rendered as static pages.
Over time, this evolved into a fully automated pipeline that now generates stories, illustrations, audio, and podcast episodes on its own.
Below, I’ll show you how I built it.
Architecture Overview
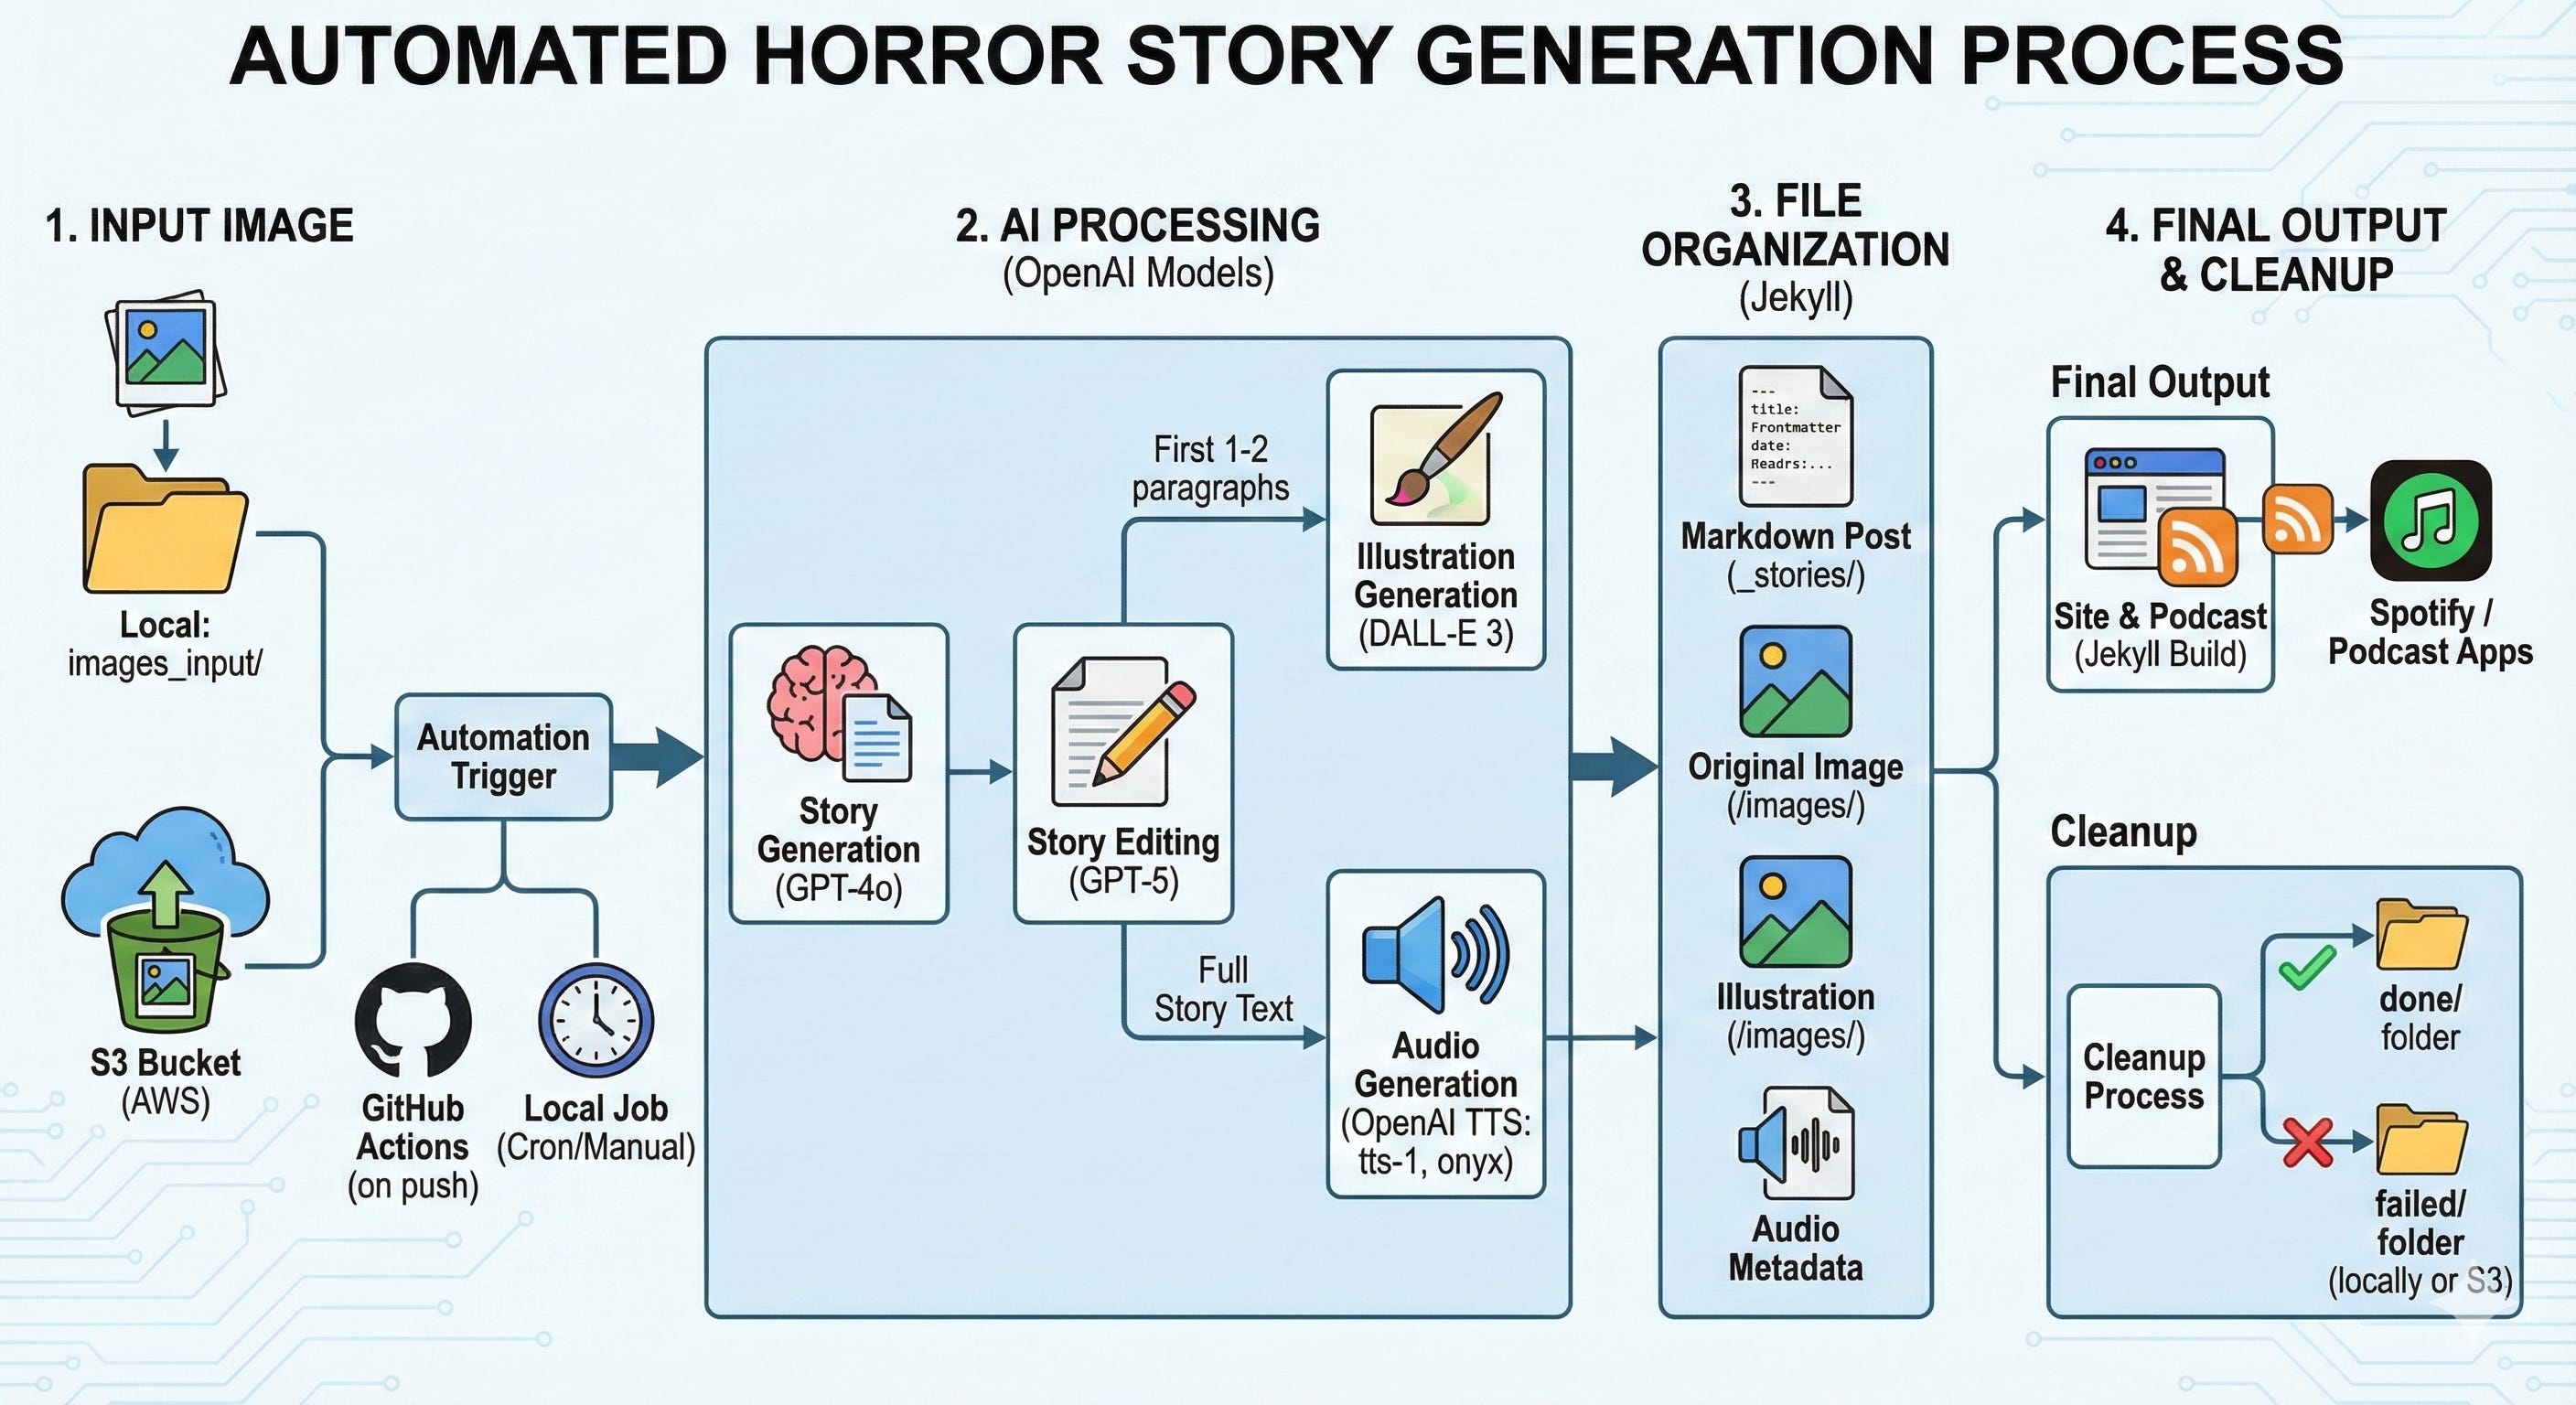
At a high level, the system does this:
Input image: Either dropped into a local folder or uploaded to an S3 bucket.
Story generation (GPT-4o): Look at the image and generate a horror story (with title + slug) using a constrained prompt.
Story editing (GPT-5): Clean up grammar and phrasing in Russian.
Illustration generation (DALL-E 3): Use the first 1-2 paragraphs to create a prompt and generate an illustration in a consistent style.
File organization (Jekyll): Save markdown post with frontmatter, original image, illustration, and audio metadata.
Audio generation (TTS): Convert the story into speech using OpenAI TTS (
tts-1, voiceonyx), store audio and record metadata.Cleanup: Move processed images to
done/, failed ones tofailed/(locally or on S3).Site and podcast: Jekyll builds the site. An RSS feed (XML) is updated and used by Spotify / podcast apps.
Project Layout
A minimal layout looks like this:
.
├── images_input/           # Raw incoming photos (local option)
├── images/                 # Resized images and illustrations
│   ├── XXX-slug.jpg        # AI illustration
│   └── XXX-slug-source.jpg # Original photo (resized)
├── _stories/               # Jekyll posts (.md with frontmatter)
├── assets/
│   └── audio/              # MP3 files
├── process_stories.py      # Main pipeline: image → story → illustration → files
├── generate_audio.py       # Story → TTS → MP3 + metadata
├── podcast.xml             # RSS feed for Spotify / podcast apps
└── .github/
    └── workflows/
        └── main.yml        # GitHub Actions workflow
Story Creation Pipeline
We’ll use this story as an example. And here’s the file, process_stories.py, with the main pipeline. The prompts I use are in Russian, but I have translated them into English for you.
Step 1: Input Image
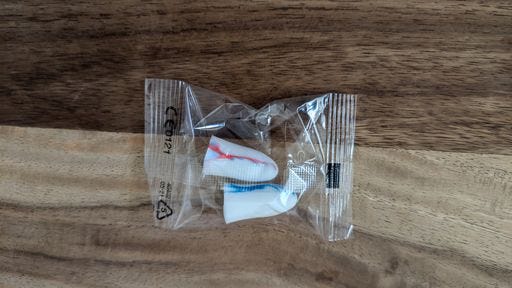
The script picks the first available image from one of two sources:
Local:
images_input/S3:
kids-horror-stories-ru-images/input/
Step 2: Story Generation from the Image (GPT-4o with Vision)
The image is converted to base64 (for the chat image input) and passed to GPT-4o with this prompt:
I want you to tell a scary story. I will send you a photograph: first, describe the photograph, and then, based on this image, come up with a horror story. Make it frightening — something in the spirit of urban folklore or urban horror legends. The ending does not have to be happy. Give the story a title.

The story should consist of 8–12 paragraphs.

For titles, do not use words such as “cursed,” “curse,” “gloomy,” “abandoned,” “mystery,” “shadow,” “horror,” or “whisper.”

Avoid plots in which characters hear rustling sounds or whispers, and also avoid plots in which objects return back to the main characters.

Do not use any formatting for either the title or the text.

The story title must be in Russian.

For the slug, use a short English title that can be used in a URL.
Step 3: Story Editing (GPT-5)
The raw story from GPT-4o is passed through GPT-5 to clean up grammar and phrasing:
You are an experienced horror story editor with perfect command of the Russian language.

Edit this story. Make sure all grammar is clear and correct, and that there are no awkward or unnatural expressions. If you come across phrases that are not normally used in Russian, or expressions that sound unclear, replace them with ones that are more natural, commonly used, and better suited to the context of the story.

Start directly with the story. Do not include anything else in the response.
This keeps the style but removes awkward constructions.
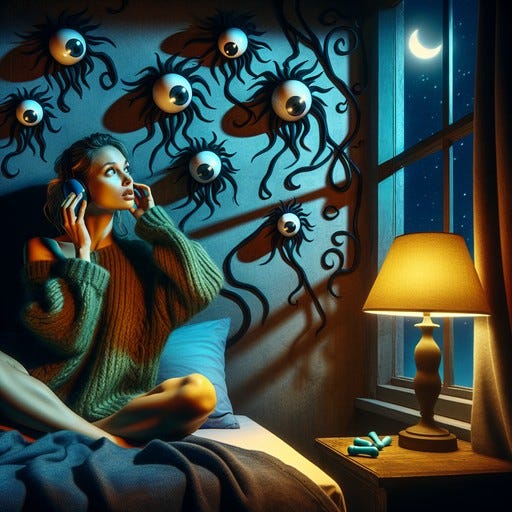
Step 4: Illustration Generation (DALL-E 3 + GPT-4o-mini)
Next, we generate a custom illustration for the story:
Extract the first two paragraphs from the final story.
Ask GPT-4o-mini to turn them into an English scene description in a specific style.
Based on the text from the story, create a detailed description of a single scene in English, and then generate an illustration based on that description. Use neutral references for people and animals, not proper names.

If the main character has a female name, use “woman” or “girl.”

If the main character has a male name, use “man” or “boy.”

If the text contains more than one scene, choose only one and create a detailed description of that scene. The description should not include a sequence of actions; instead, it should focus on describing one specific moment or setting.

The illustration will be used as a logo for a podcast episode, so the details should be shown in close-up. There should not be many objects — only the most essential elements needed to convey the scene. No more than one or two people.

Text:
{first_two_paragraphs}

Illustration style:
a flat, linear style with bold outlines and minimalistic, vibrant colors.
The scene should include whimsical and slightly eerie elements.
The overall aesthetic should combine a playful, cartoon-like feeling
with a touch of spookiness, similar to a light-hearted horror theme.

Avoid adding any text to the illustration.

Only include the final illustration prompt in your output. Do not include the scene description.
Feed that prompt into DALL-E 3 to get a 1024x1024 illustration.
The result from DALL-E 3 is downloaded, resized (e.g. 512x512, 80% quality), and stored in images/.
Step 5: File Organization & Jekyll Frontmatter
Each story is assigned a sequential ID (e.g. 001, 002, …). This ID is used to build filenames and URLs.
Then I use the save_story function to produce:
_stories/XXX-slug.md– markdown post with frontmatterimages/XXX-slug.jpg– AI illustrationimages/XXX-slug-source.jpg– original image (resized)
Example frontmatter:
---
audio_size: 3539520
audio_url: https://kids-horror-stories-ru.s3.eu-west-1.amazonaws.com/audio/999-silence.mp3
date: ‘2025-03-23’
duration: 02:56
illustration: /images/999-silence.jpg
image_source: /images/999-silence-source.jpg
slug: 999-silence
story_number: ‘999’
title: Берегите тишину
---
Step 6: Audio Generation (generate_audio.py)
Now we convert the final text into audio with OpenAI’s tts-1 model.
Pass the story text and slug (e.g.
999-silence) togenerate_tts.Upload the generated MP3 to S3 (e.g.
kids-horror-stories-ru-images/audio/999-silence.mp3).Update the story frontmatter with:
audio_url(public S3 URL)audio_sizeduration(you can compute from the MP3)
Move the final MP3 to
assets/audio/for GitHub Pages / Jekyll to see it.
Step 7: Cleanup
After successful processing, move the original input image to done/. On failure, move to failed/ and log the error.
This keeps the input queue clean and prevents re-processing the same image.
Podcast Feed (RSS)
To get your episodes on Spotify and other podcast apps, you need an RSS XML file that lists your MP3s.
For that, I created podcast.xml, a template for an RSS feed that Jekyll fills up for every new story.
Automation with GitHub Actions
I have a GitHub Actions set up. It automatically pulls new images from Amazon S3, selects the first one, processes it, and publishes a new story.
Putting It All Together
In the end, you get a fully automated kids’ horror stories podcast and website, powered by images and a handful of scripts.
If you prefer to follow along in a code-along format, here’s a video where I walk through the project and show my screen step by step:
You can see the live project and the code here:
Website (Jekyll, GitHub Pages): https://alexeygrigorev.com/kids-horror-stories-ru/
GitHub repo: https://github.com/alexeygrigorev/kids-horror-stories-ru
Spotify:
What do you think about tutorials and demos like this? Do you find this level of detail helpful? Let me know in the comments or by replying to this email.
Project Idea: What You Can Build This Week
If you’re looking for a small, self-contained project to try this week, building a photo-to-story AI pipeline can be a great idea, especially before the holidays.
Start simple: take a photo of an everyday object and turn it into a short story with AI. From there, you can expand gradually: add an illustration, generate audio, publish it on a small website, and share it as a podcast feed. You can explore other options, such as text-to-text or speech-to-text, as well as different formats.
Use your creativity! It’s a fun way to experiment with multimodal projects (vision, text, and speech), and it works well for sharing with kids, family, or friends.
Other Ideas For You
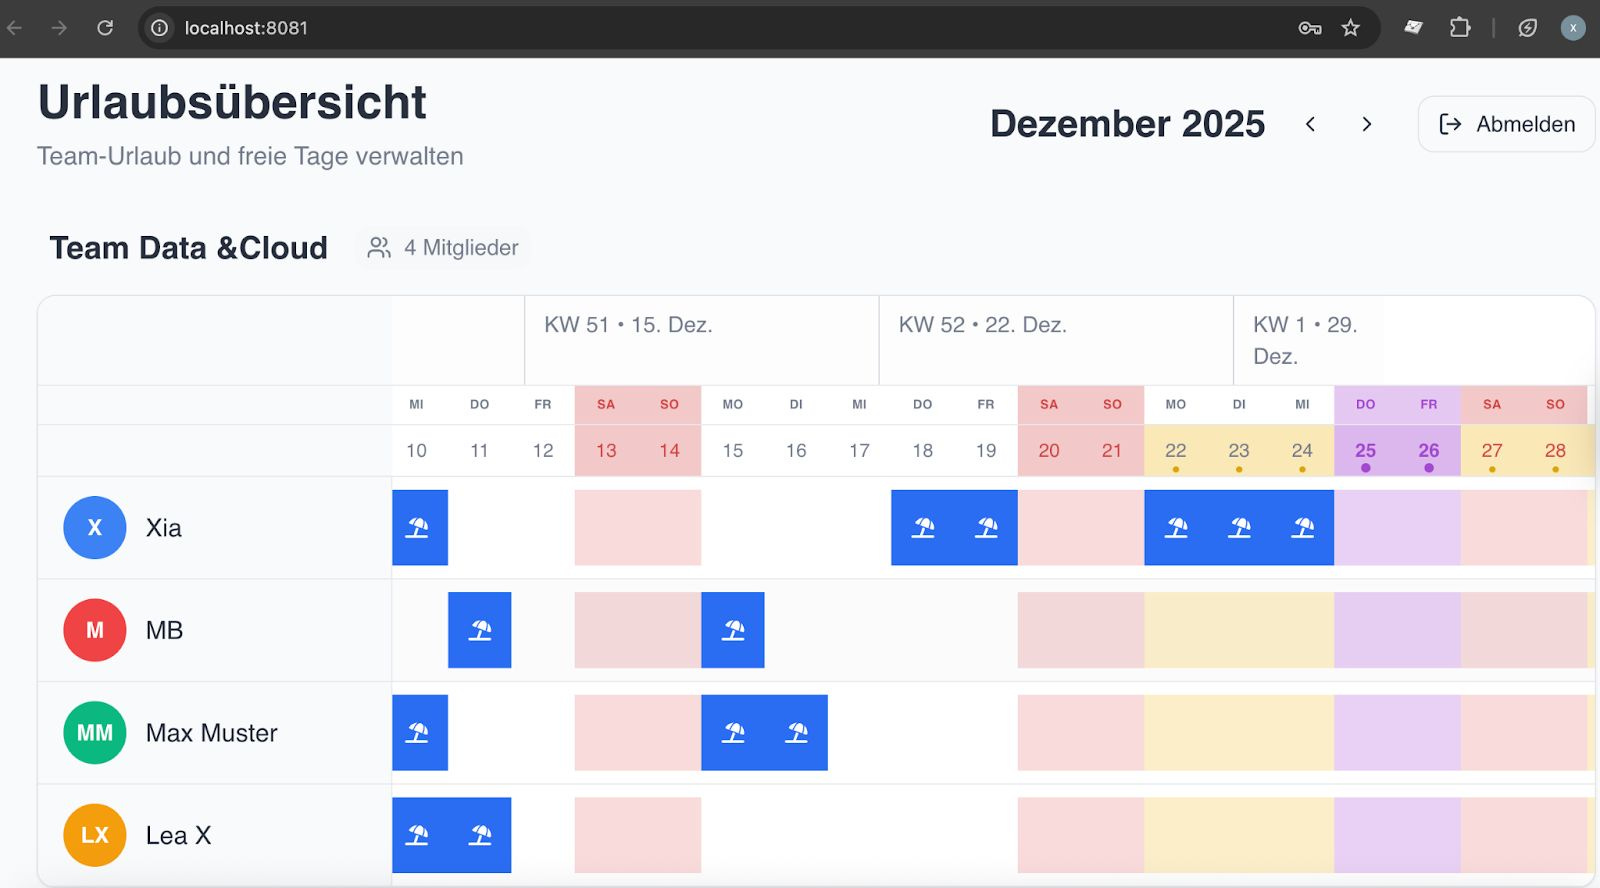
Xia He-Bleinagel developed a comprehensive holiday planning app on Django using AI tools: ChatGPT for prompts, Lovable for UI, Cursor for implementation, and Google Antigravity for debugging complex issues. The final product features Supabase authentication, role-based access, and integration of both school and national holidays. We build such apps during the AI Dev Tools Zoomcamp. The course is only halfway through, so you can still catch up.
500+ AI Agent Projects and Use Cases is a curated repository showcasing real-world applications of AI agents across various industries, including healthcare, finance, and education. It maps practical use cases to open-source implementations and frameworks such as CrewAI, AutoGen, Agno, and LangGraph. This repo can serve as a hands-on inspiration hub for builders and practitioners.
What I’ve Been Working On Recently
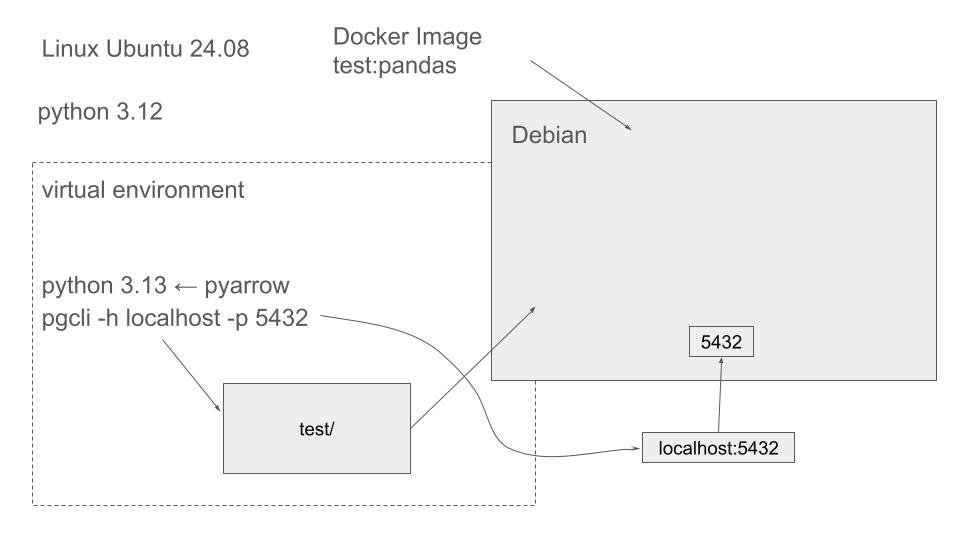
Docker Workshop for Data Engineering: This week, I did a hands-on Docker workshop focused on real data-engineering workflows. We’ll use PostgreSQL, pgAdmin, Jupyter, and Docker Compose to show how to run multi-service setups, explore data, and package scripts for reproducibility. The recording will later be used to refresh the Docker module in the Data Engineering Zoomcamp.
End-to-End Agent Project for AI Bootcamp: I recently built an end-to-end demo project for the AI Bootcamp that shows how agents can manage a personal to-do list. The example demonstrates how to send tasks to an agent, query the list, and let the agent reason about updates, useful as a simple, concrete pattern for agent-driven personal tools.
Preparing a Temporal Workshop (Coming Soon): I’m also preparing an upcoming workshop on building a fault-tolerant deep-research Q&A agent for YouTube videos using Temporal, Elasticsearch, and PydanticAI. The focus is on durability: handling unreliable transcript ingestion, long-running workflows, retries, and observability.
My Courses
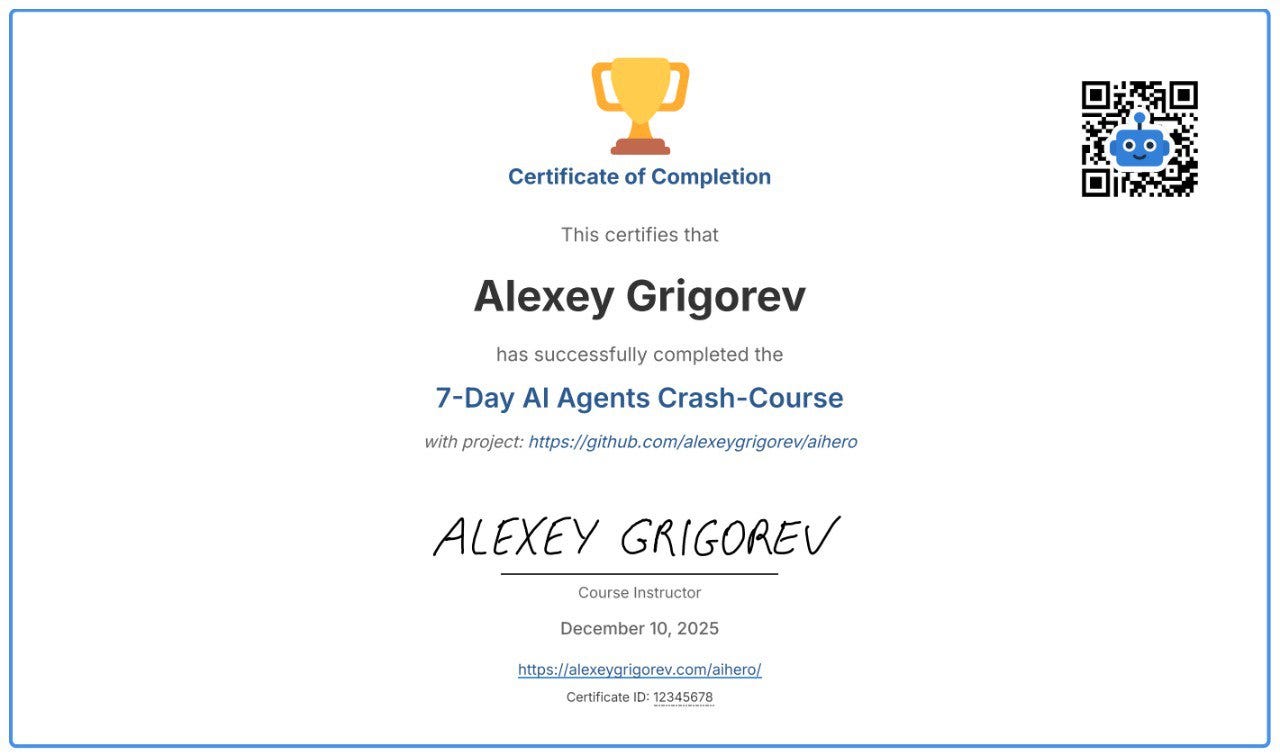
AI Agents Email Crash-Course (Cohort Edition): I’m running a free cohort-based version of the AI Agents Email Crash-Course this December and January. To complete the cohort, you’ll finish the project and review three other submissions; in return, you’ll receive a certificate of completion signed by me.
AI Bootcamp Scholarships (New Cohort): I’m launching a new iteration of the AI Bootcamp, and this time I’m also offering several scholarship spots. I know that not everyone has the budget for a paid program, but many people are highly motivated to learn, practice, and build real systems.
AI Bootcamp Demo Day: A free online session where AI Bootcamp graduates demo their projects: agentic workflows, coding assistants, research tools, and automation flows.
Data Engineering Zoomcamp: New cohort starts on January 12, 2026. A free 9-week course on building production-ready data pipelines: ingestion, orchestration, warehousing, analytics, and more.
Interesting Tools
PAL MCP is a provider-agnostic Model Context Protocol server that turns your existing AI CLI or IDE into a coordinator for multiple AI models, letting you spawn isolated sub-agents, run cross-model debates and code reviews, and hand off full context between models for planning and implementation, all from a single workflow.
AGENTS.md is a straightforward, open standard that provides AI coding agents with a consistent location to access project-specific setup instructions, build steps, tests, and coding conventions used by over 60,000 open-source projects. This approach helps keep human-centric READMEs clean while enhancing the reliability of agents across various tools.
Edited by Valeriia Kuka
Thank you for sharing this! Turns out building pipelines like that is not as hard as I thought it would be. I can even implement something similar based on your guide.
Cool way to start a pipeline! I will use this logic for my own project. Thanks for sharing!