

I published my first Python library in early 2021. Since then, I’ve released 24 packages on PyPI, and I use them regularly in my own projects.
I used to do everything manually, but in 2025, I started using coding agents and creating more libraries.
Eventually, I automated the whole process. In this article, I’ll tell you how I do it and walk you through the entire workflow:
Starting a library and choosing a name
Publishing the first version
Releasing through CI
Automating the process with agents
1. Start with an Idea
I build something to solve a specific problem that I’m facing. Then I realize I may want to reuse it, either as a command-line utility or as a small library for other projects.
Before I create a repo, I do a brief validation step. I try to understand what I’m building and whether it is worth packaging as a library.
I usually start brainstorming and researching with ChatGPT. I explain the problem, explore what the library should do, and check whether similar tools already exist. If they do, I look at how they solve the problem and whether they fit my needs.
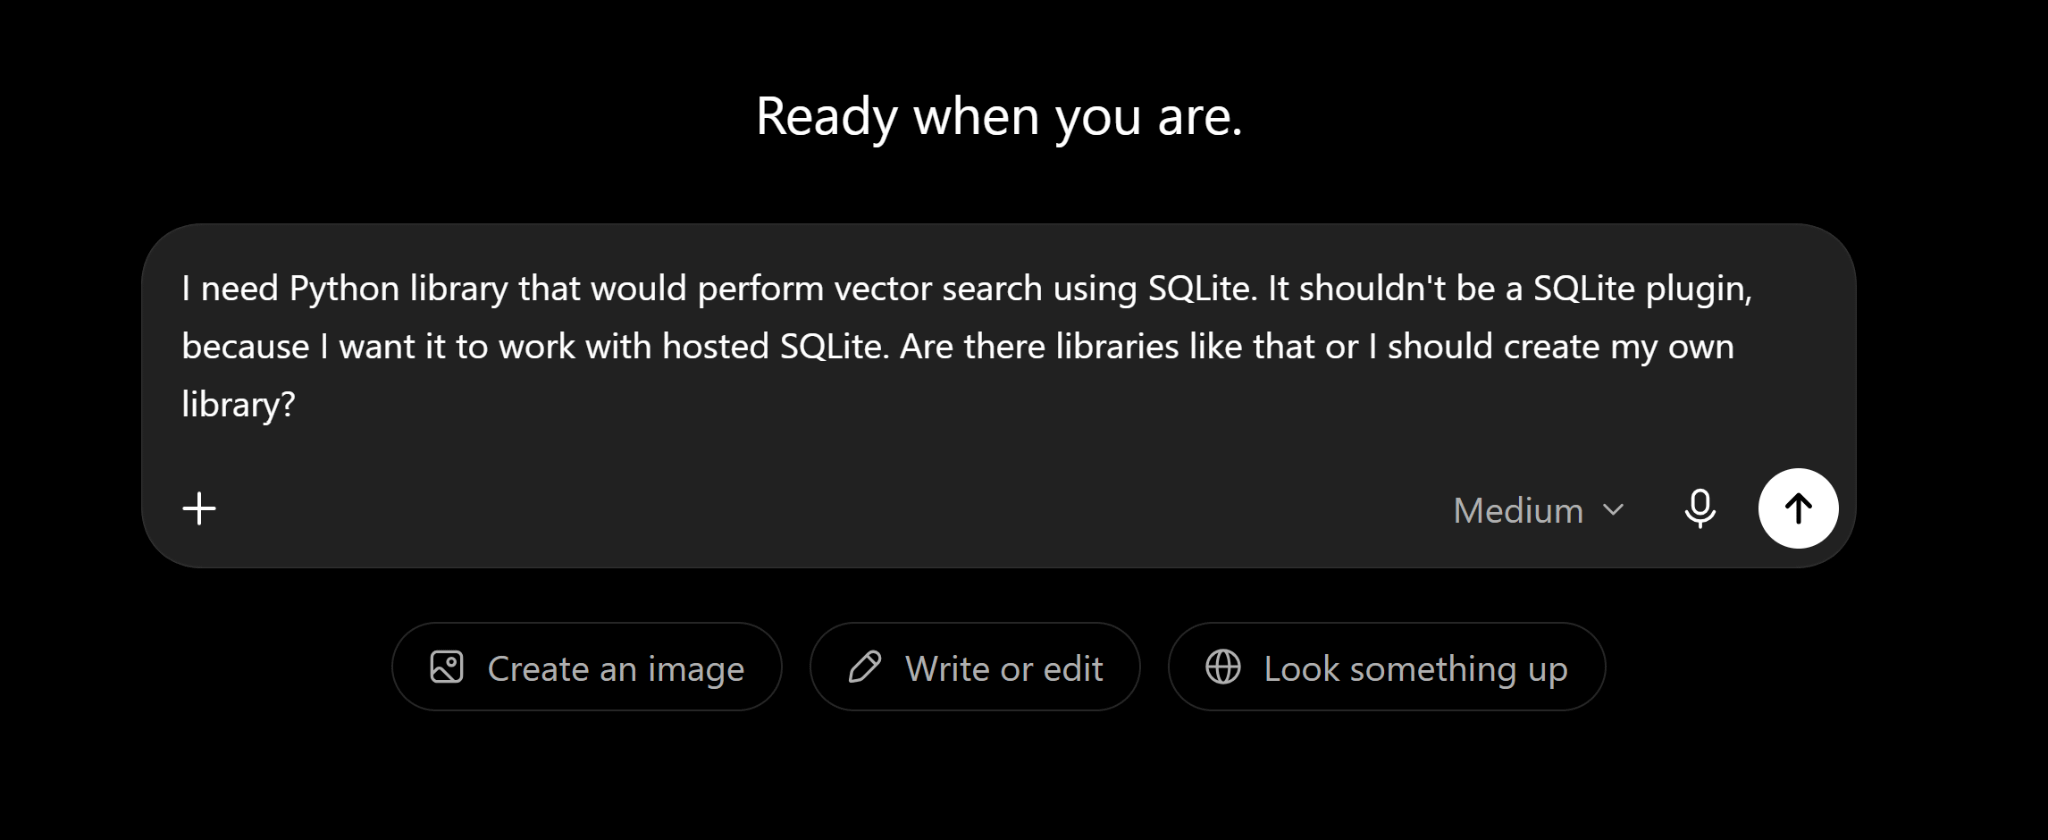
This also gives me a clear brief I can use if I decide to move forward with the library.
I described this process before when I wrote about building SQLiteSearch.
2. Choose a Name
Once I have a clear brief, I choose a name. This is harder than it sounds. I need a name that fits the project, is short enough to use, and is still available on PyPI.
I usually start a new session with an agent and paste the exported conversation describing the problem I created in the previous step. In this prompt, I also explain that I want to turn the description into a library, and ask the agent to help me brainstorm names. I also ask it to check whether each name is available.
The availability check is pretty simple, because PyPI exposes package metadata at this URL:
https://pypi.org/pypi/{name}/jsonIf the request returns 404, the name is available. If it returns 200, someone has already taken it.
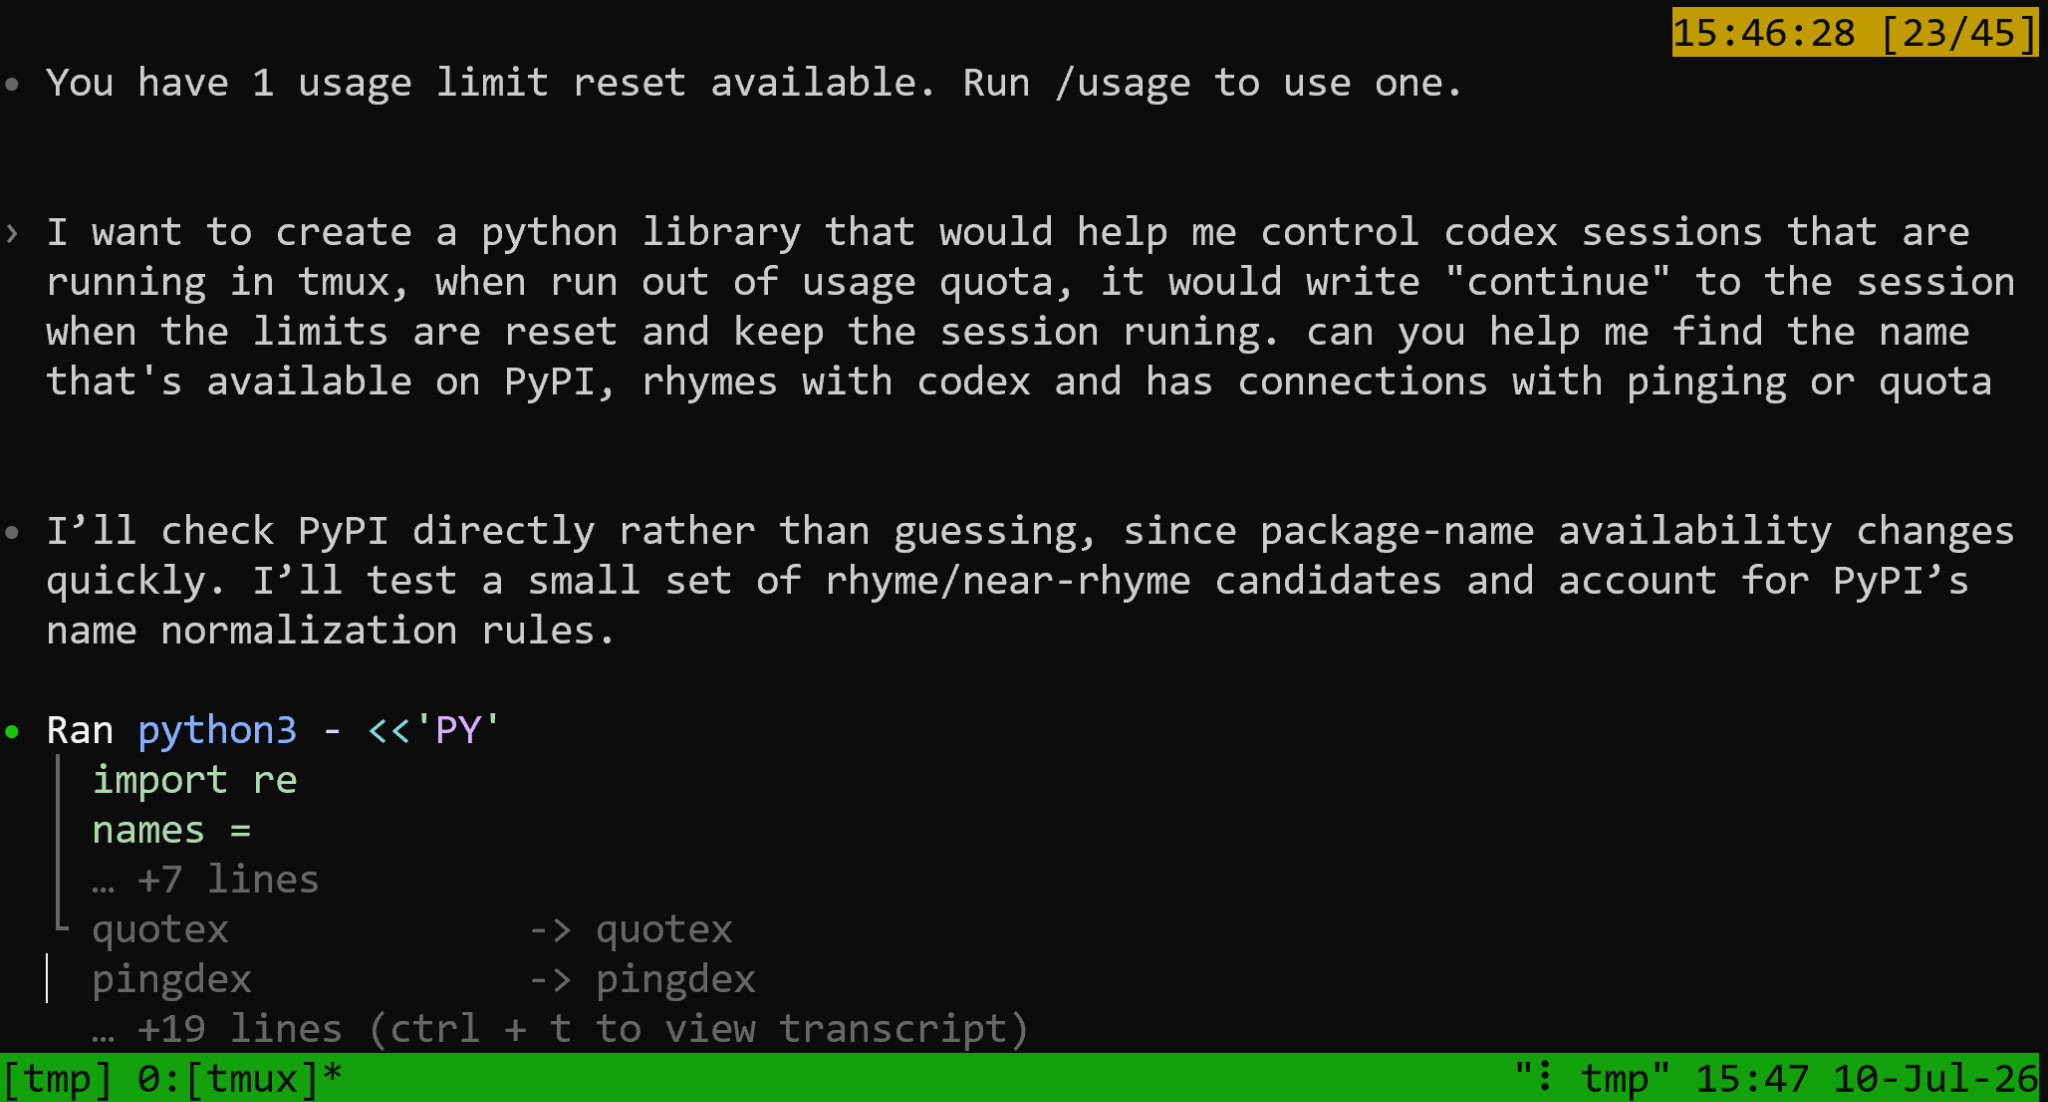
Then I iterate. If a name is taken, I ask for more options. If a name is available but does not feel right, I keep brainstorming.
Heru is one example. The idea was “one tool to rule them all” (all the agents), so I wanted a short name connected to The Lord of the Rings, maybe something Elvish. I brainstormed with the agent, checked availability along the way, and eventually landed on Heru.
Quse was similar. I wanted a short name that still meant something. After several iterations, I landed on Quse, short for “quota use.”
I usually spend around 10 minutes on this step. By the end, I have a name that fits the project, is available on PyPI, and works for both the GitHub repo and the package.
I wrote more about how Heru and Quse got their names in Six Projects That Didn’t Make It.

3. Create the First Version
Once I choose the name, I create a GitHub repository and publish its first version.
I usually make the repo public for two reasons:
I contribute a lot to open source, and I want others to see the code, use it, and maybe contribute to it too
Public repos get a larger GitHub Actions quota than private repos
At this stage, I don’t need a complete library. I create a skeleton: a minimal working version that I can publish.
I also decide the project structure up front. Across my projects, I keep this structure fairly consistent. I use Hatch, with hatchling as the build backend, and uv for tooling.
For a minimal library, I use a layout like this:
library_name/
├── library_name/__init__.py
├── library_name/__version__.py        # __version__ = “0.0.1”
├── library_name/cli.py                # only if the package installs a CLI
├── tests/__init__.py
├── pyproject.toml
├── Makefile
├── README.md
├── .gitignore
├── .python-version
└── uv.lock
I put the package metadata in pyproject.toml:
[build-system]
requires = [”hatchling”]
build-backend = “hatchling.build”

[project]
name = “<library_name>”
dynamic = [”version”]
description = “<package-description>”
readme = “README.md”
license = {text = “WTFPL”}
authors = [{name = “Alexey Grigorev”, email = “alexey@datatalks.club”}]
requires-python = “>=3.12”
dependencies = [”<dependencies>”]

[tool.hatch.build.targets.wheel]
packages = [”<library_name>”]

[tool.hatch.version]
path = “<library_name>/__version__.py”
If the library has a command-line tool, I add an entry point so users can run the command after installation:
[project.scripts]
stylint = “<library_name>.cli:main”
That is the whole skeleton: a package directory, a version file, a place for tests, and a pyproject.toml file with the build configuration.
4. Publish the Project
Once the first version is ready, I can publish it.
For manual publishing, I need two accounts: one on Test PyPI and one on PyPI. I use Test PyPI to verify that the package builds correctly and installs as expected before publishing it to the real index.
I also need API tokens for both accounts. I generate a token in each account and put both tokens in ~/.pypirc in my home folder. I keep separate token-authenticated entries for pypi and testpypi:
[pypi]
username = __token__
password = pypi-...

[testpypi]
username = __token__
password = pypi-...
Hatch uses these credentials.
With the tokens configured, the manual publishing flow is simple:
uv run hatch build
uv run hatch publish --repo test
uv run hatch publish
I build the package, publish it to Test PyPI, check that everything looks right, and then publish it to PyPI.
This is the manual flow. I documented it in the minsearch README so I would not have to remember the commands every time.
5. Set Up CI/CD
I can publish manually, but I prefer to release through CI. I want releases to work the same way on any computer I use. It should not matter whether I have the right tokens on my machine or whether my local environment is configured correctly.
Instead of running hatch publish on my own machine, I let GitHub Actions publish the package when I push a version tag.
Before I release, I bump the version. For a simple bug fix, I bump the patch version. For a more substantial change, or for a breaking change, I bump the minor version. I rarely update the major version.
I put the publishing workflow in .github/workflows/publish.yml. GitHub Actions run it whenever I push a tag that starts with v. The workflow does three things:
builds the package with
uvbuildchecks that the built package version matches the tag
publishes the package with the official
pypa/gh-action-pypi-publishaction
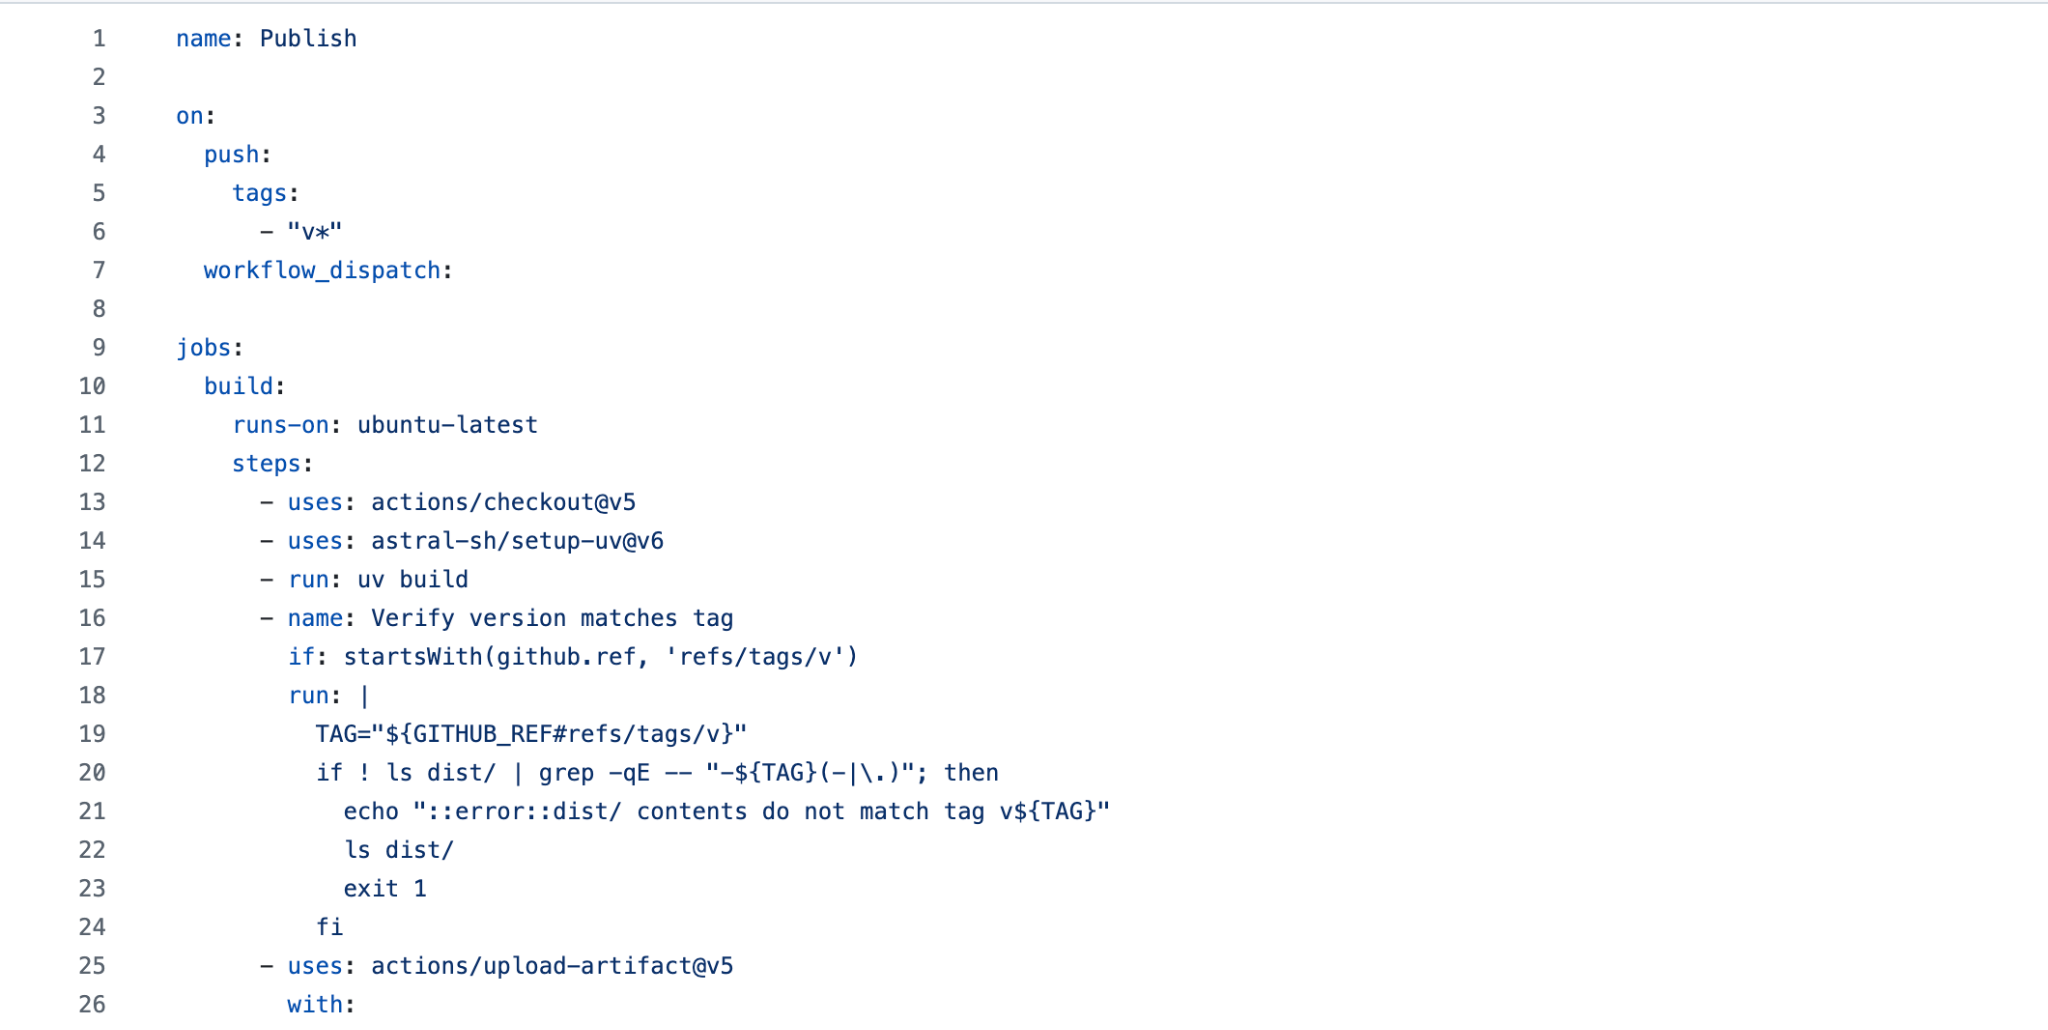
For authentication, I store the PyPI token as a GitHub secret called PYPI_API_TOKEN. This is the same token I keep in ~/.pypirc, but GitHub stores it as a repo secret. At release time, I do not need the token on my machine.
So the release process is:
Bump the version in
__version__.pyCommit the change
Create a
v<version>tagPush the tag
In code, it looks like that:
git tag “$VERSION”
git push origin “v$VERSION”
When I push the tag, GitHub Actions builds the package and uploads it to PyPI.
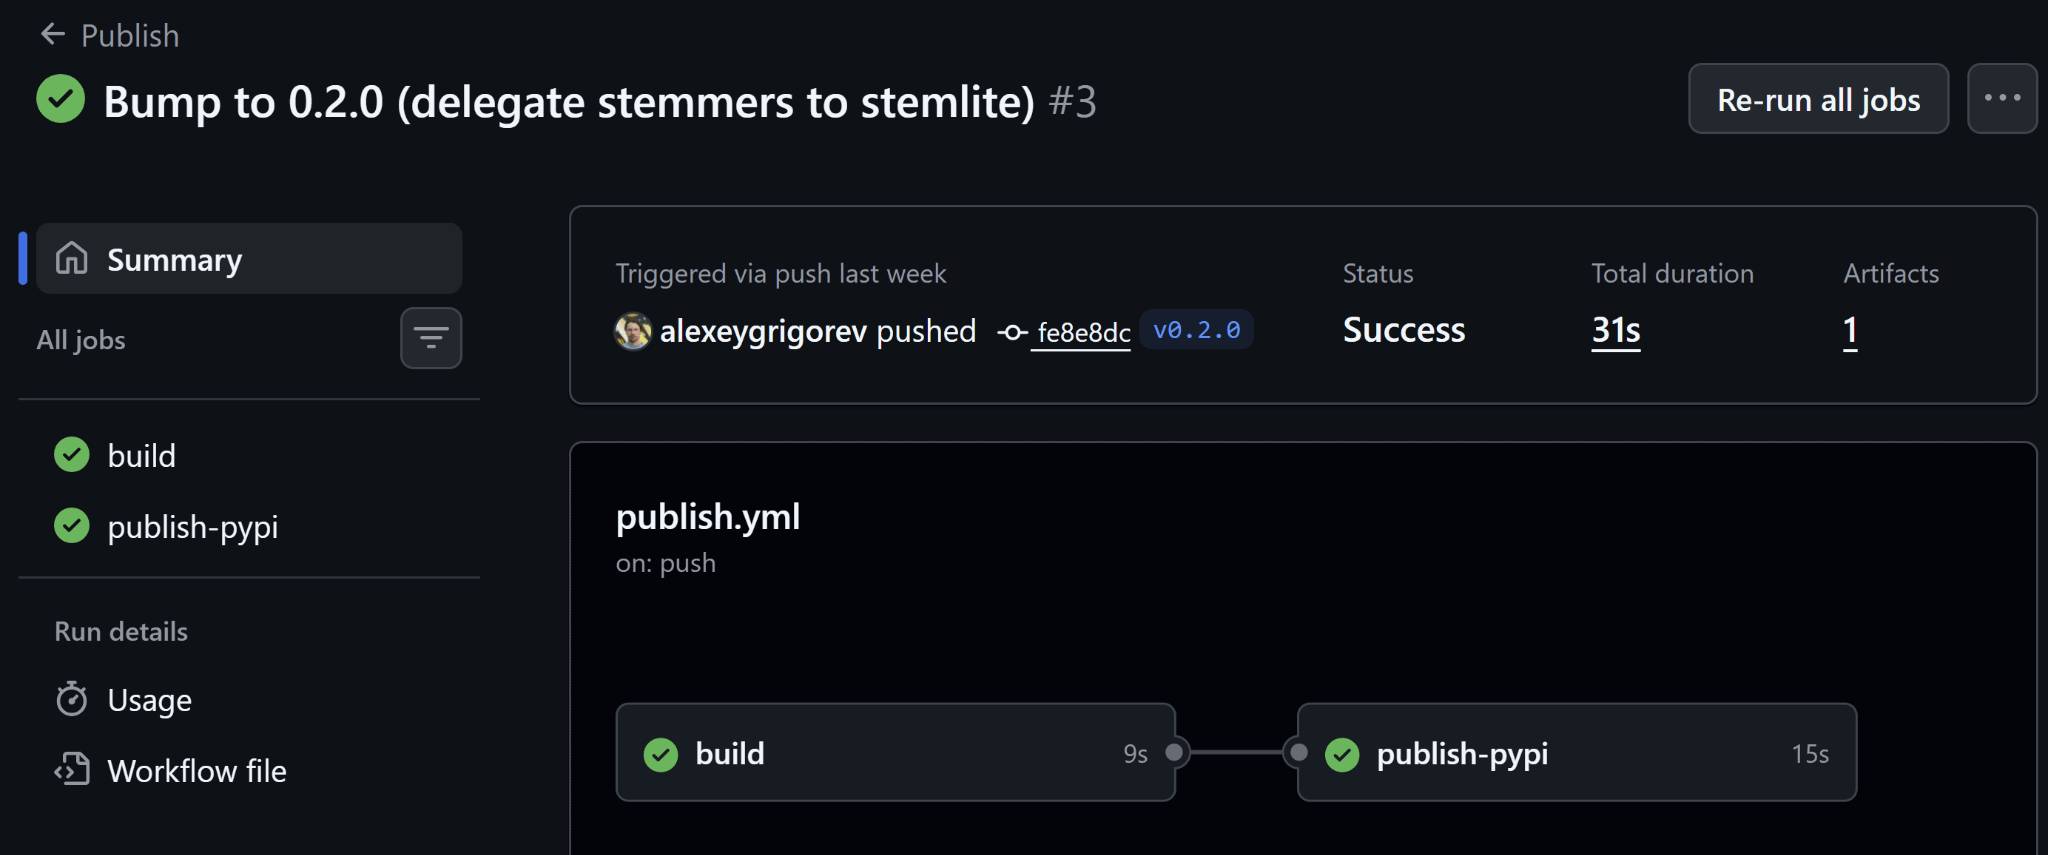
This approach is not specific to Python. I can use the same flow for other ecosystems: push a tag through GitHub, then let CI run whatever publishing logic the project needs. That can mean publishing to PyPI, another registry, building binaries, or uploading artifacts elsewhere. The only requirement is that CI has access to the necessary credentials.
rustkyll is a good example. It is a static site generator written in Rust. When I push a v* tag, its workflow cross-compiles binaries for six platforms, attaches the binaries to a GitHub Release, and publishes binary-bundled wheels to Test PyPI and then to PyPI. The publishing logic is different, but the trigger is the same: push a version tag.
6. Automate Publishing with Skills
Once I have the manual and CI flows, I can stop repeating the setup by hand. I use a few agent skills that cover the whole pipeline:
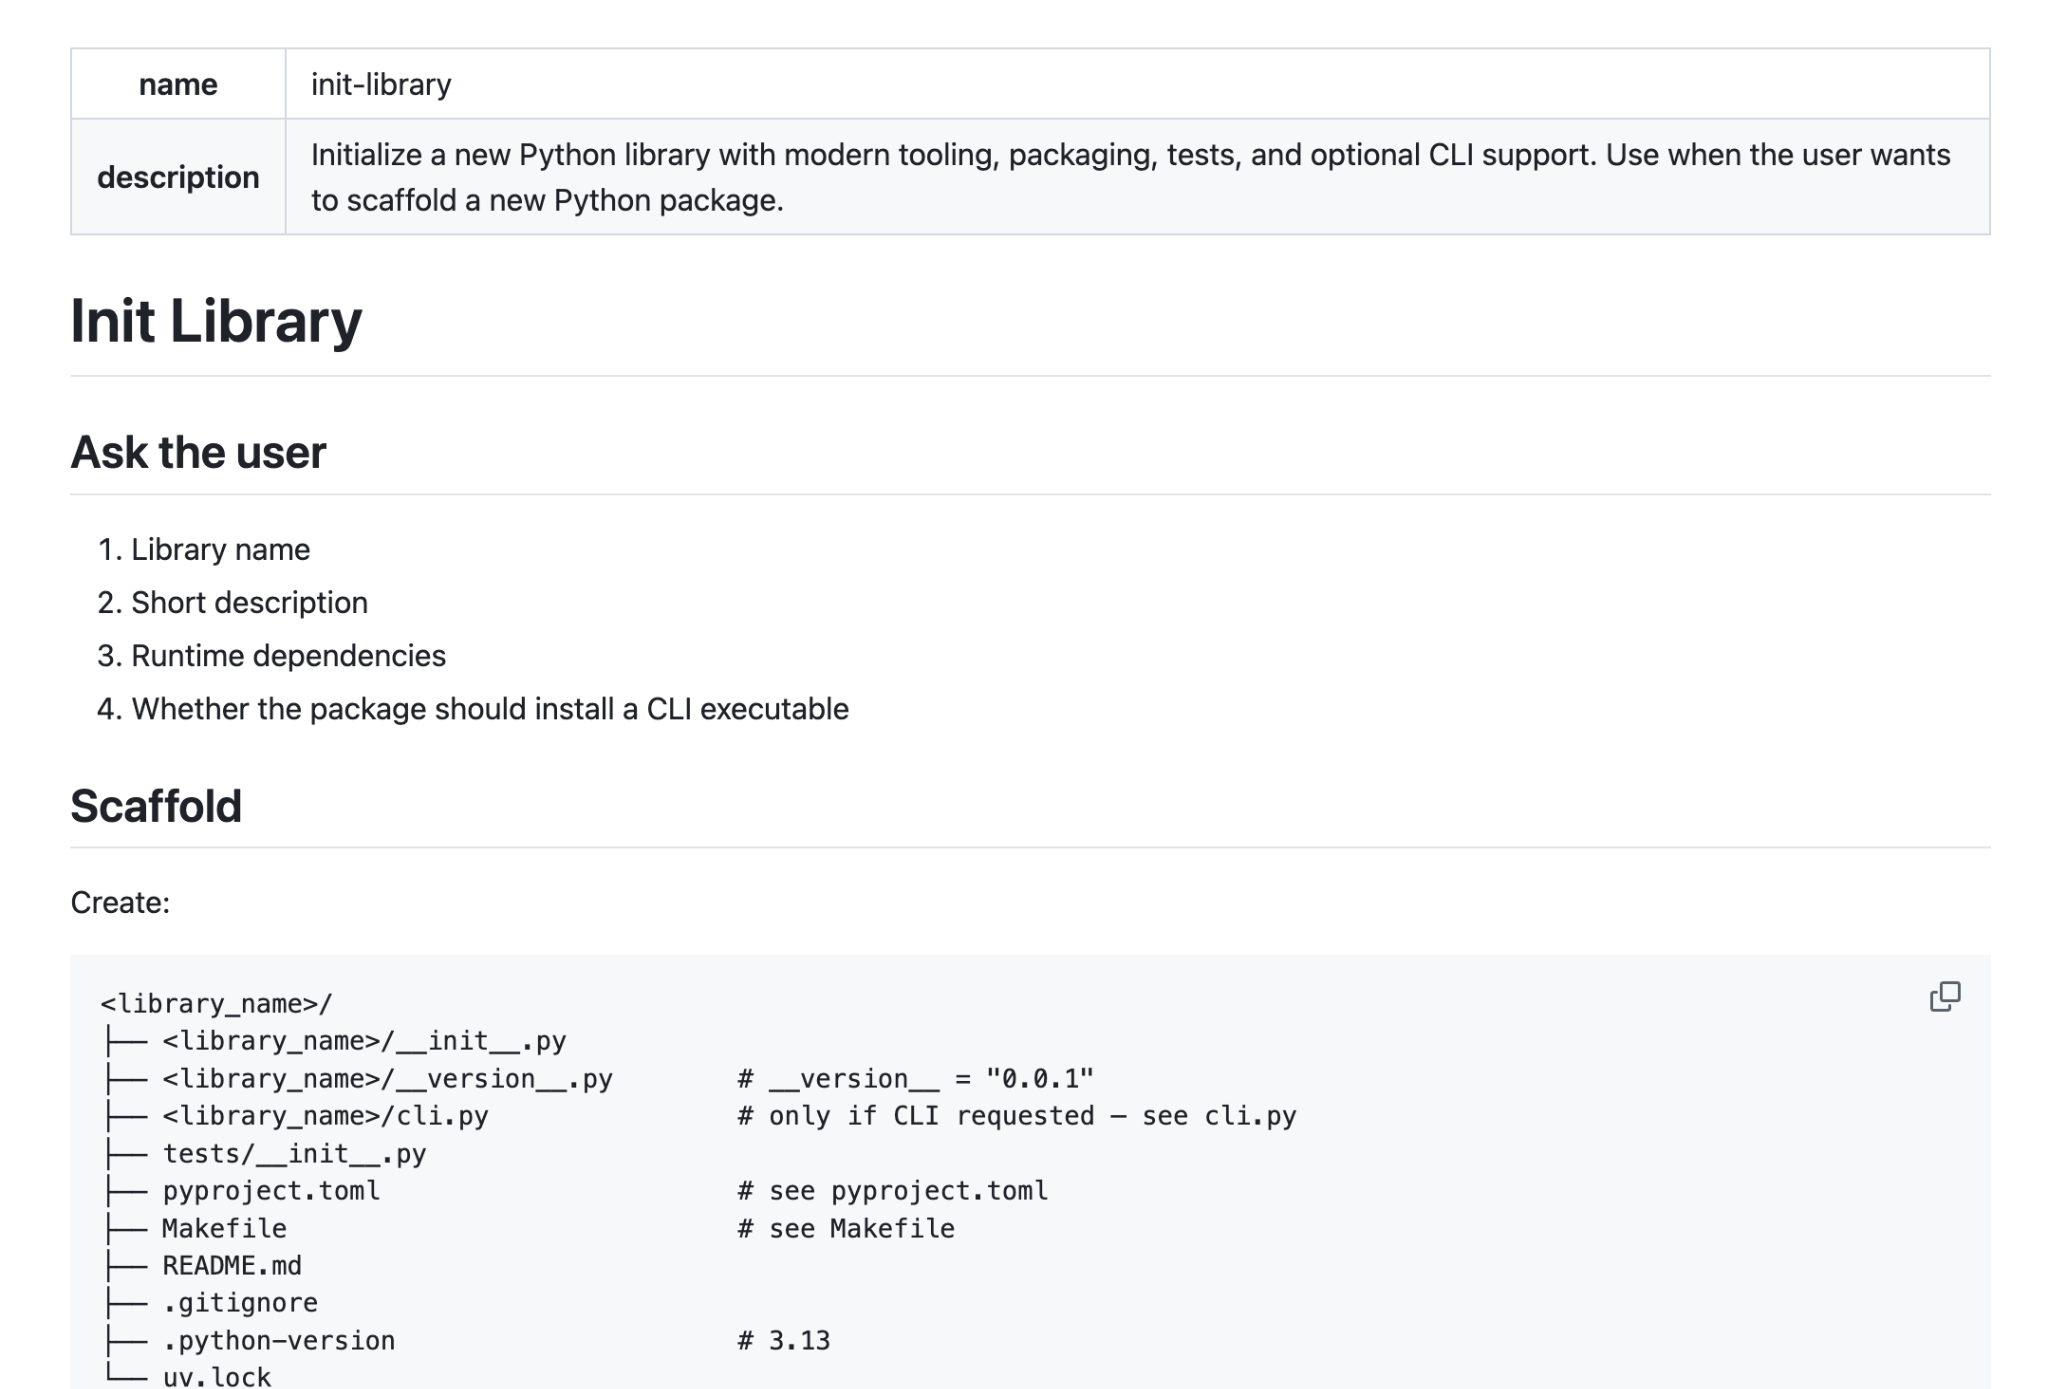
I use init-library to scaffold a new Python package. I give it a name, a short description, the dependencies, and whether the package needs a CLI.
The skill creates the standard layout:
the package directory,
__init__.py,__version__.pyseeded at0.0.1,a
testsdirectory,Pyproject.toml,Makefile, and
README.md.
It also sets up the project with uv. Once I have the repo on GitHub, I move to the next skill.
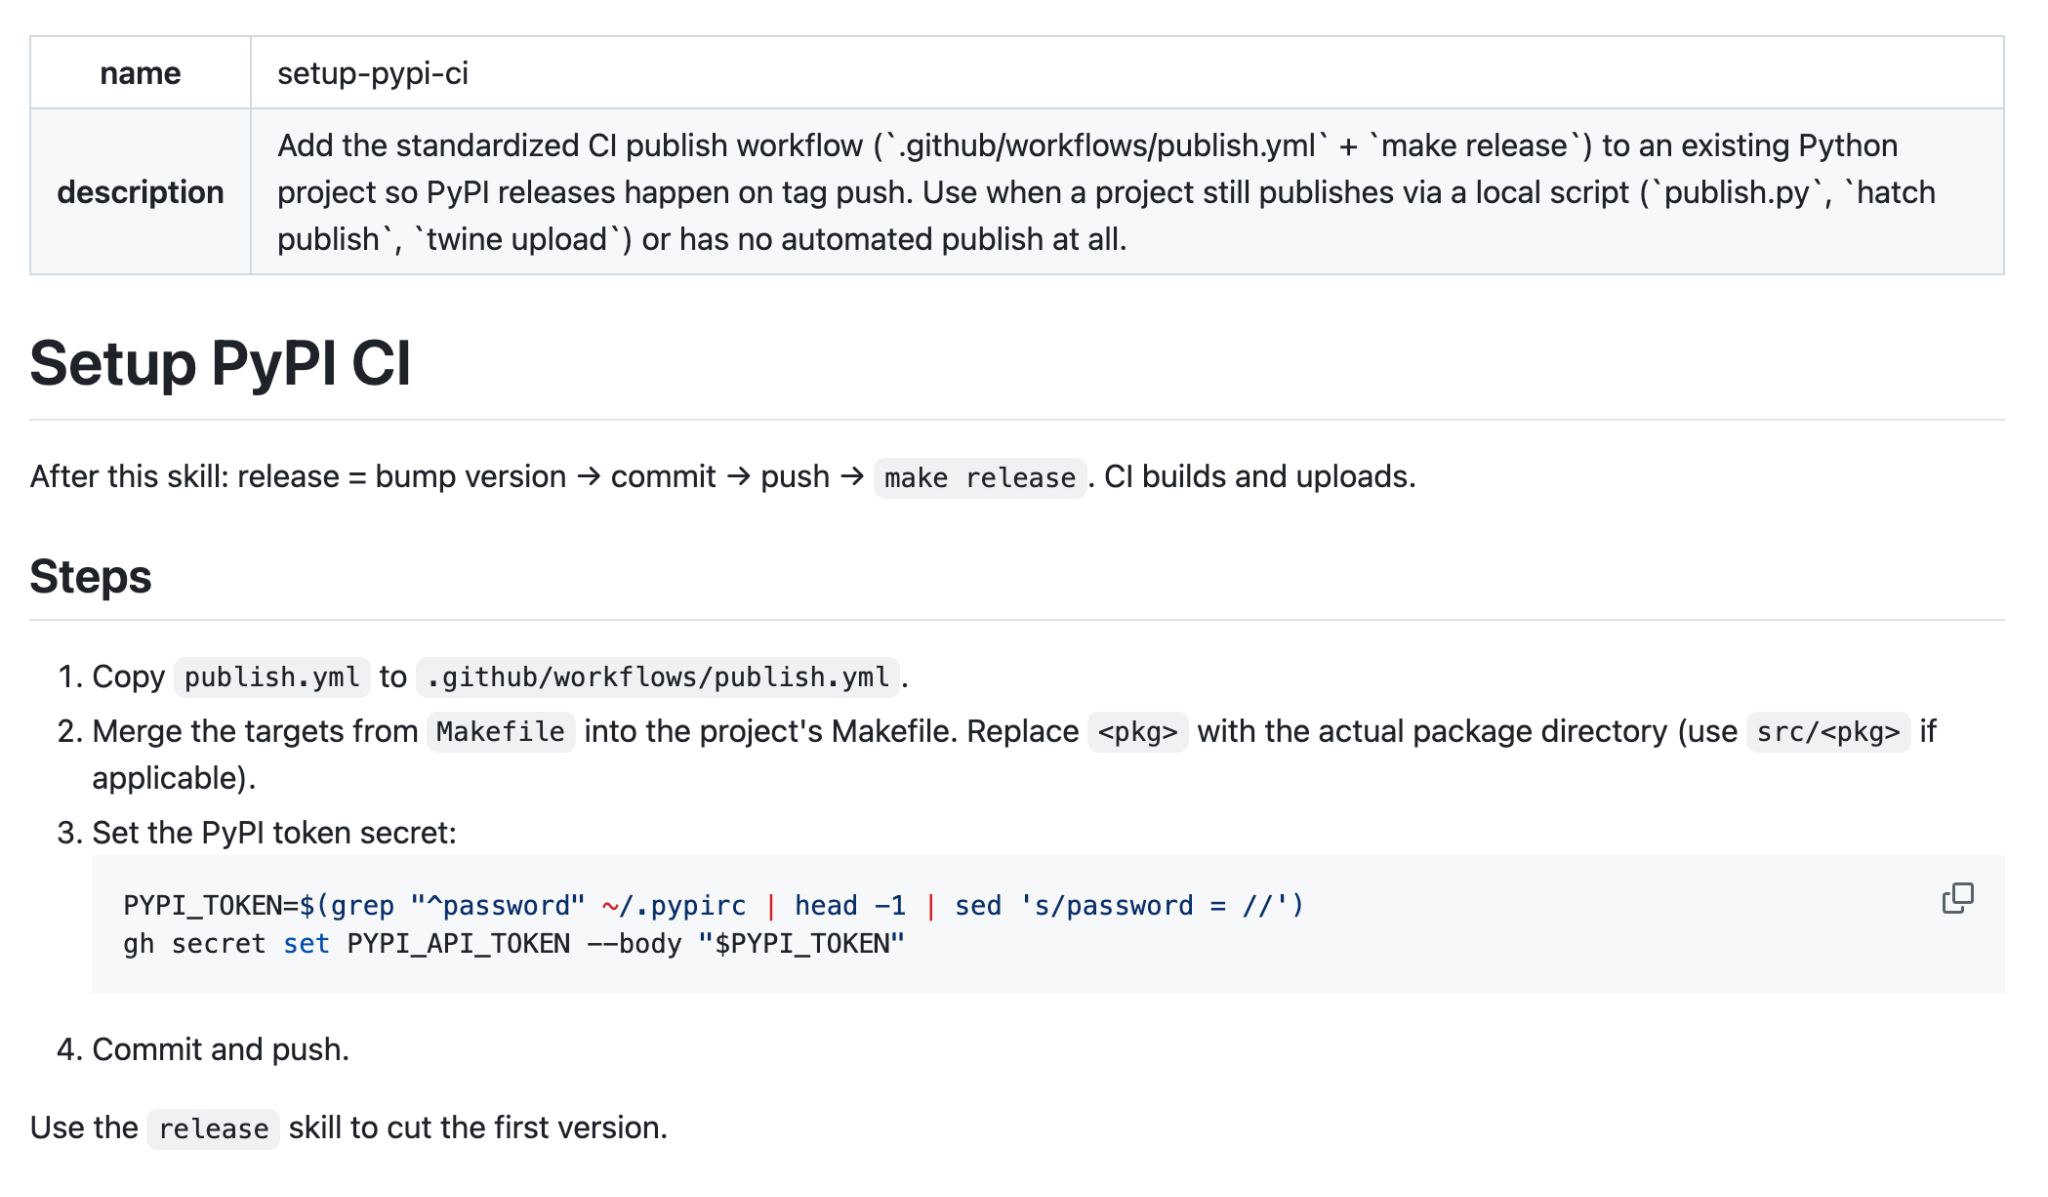
I use setup-pypi-ci to set up tag-triggered CI publishing. The skill copies the publish.yml workflow, adds the make release target, reads the PyPI token from ~/.pypirc, and saves it in GitHub as the PYPI_API_TOKEN secret. After that, I can release the package by bumping the version and pushing a tag.
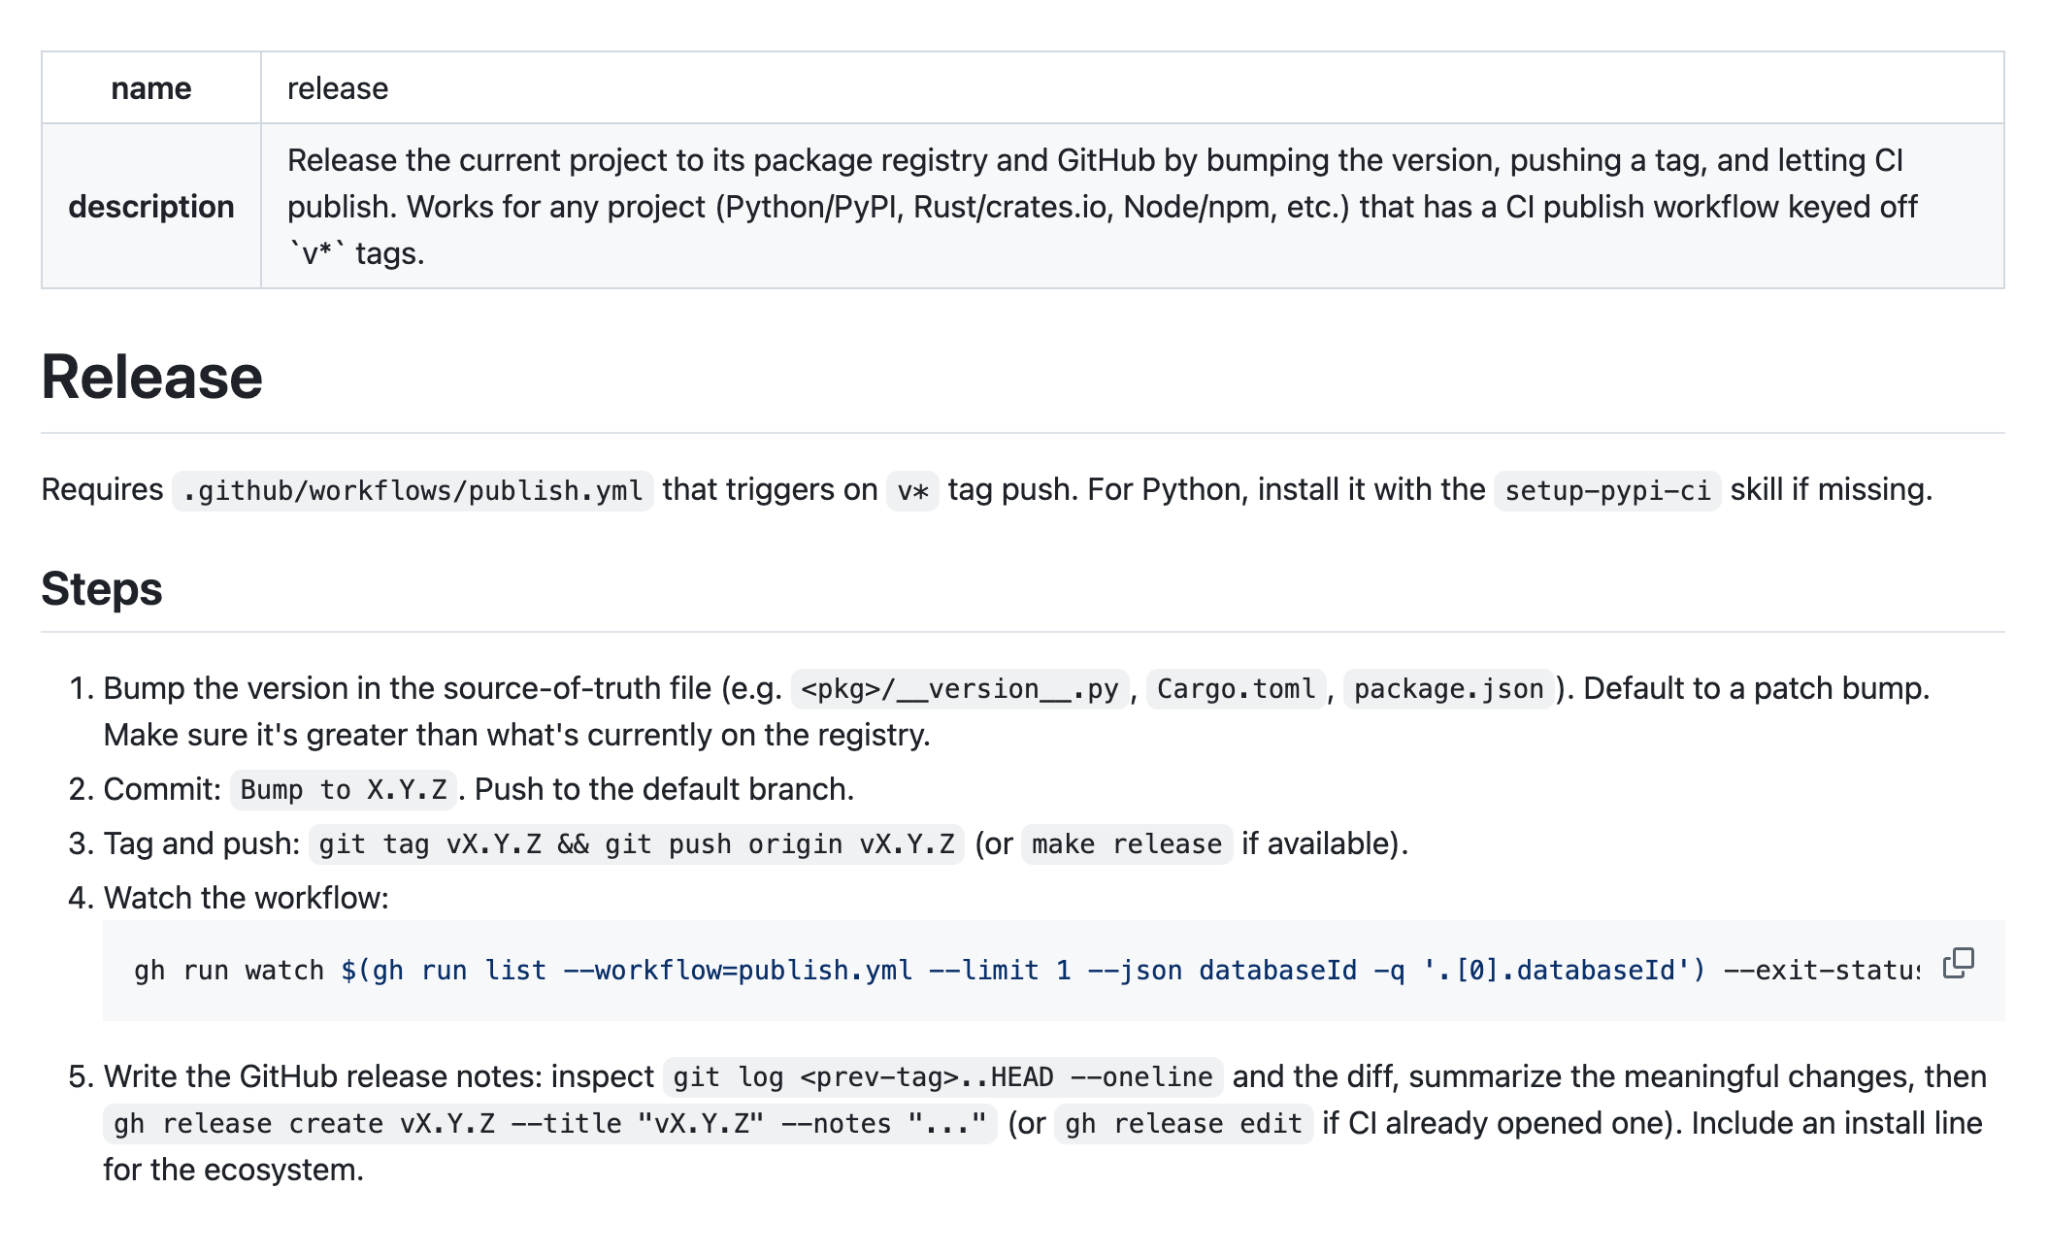
I use release to make a release. By default, it bumps the patch version, commits the change, pushes the tag, watches the GitHub Actions run until it finishes, and writes GitHub release notes from the git log. The skill is registry-agnostic: I can use it for PyPI, crates.io, npm, or anything else that publishes from CI when I push a v* tag.
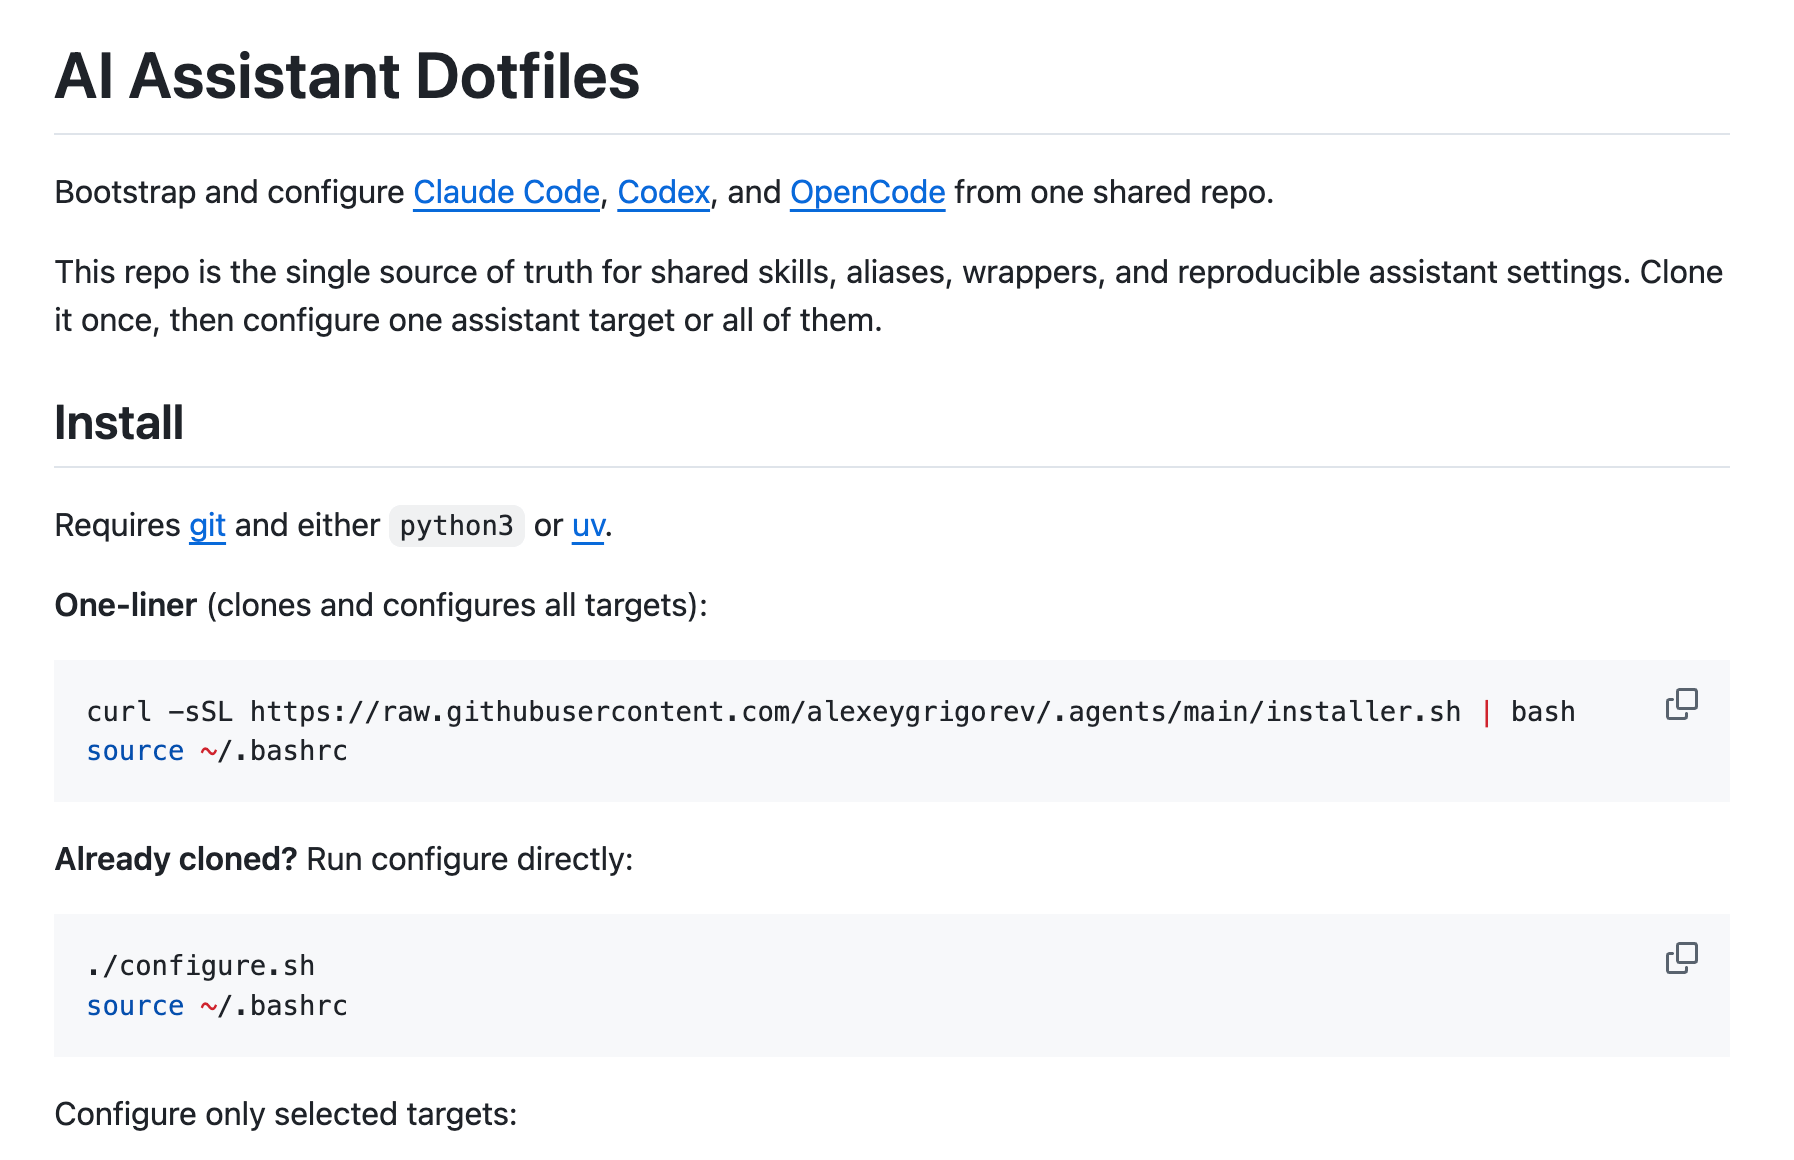
I keep these skills in my .agents repo, which works as my AI assistant dotfiles. It gives me one source of truth for the same skills across Claude Code, Codex, and OpenCode. So I can use the same release process with every agent I use.
This workflow helps me maintain more and more libraries and create new ones quickly. What used to be a manual process is now a set of reusable skills.
What I’ve Been Working on Recently
1) Ingesting Agent Traces with dltHub
This week, we ran a hands-on workshop with dltHub on ingesting agent traces.
When you build AI agents, you need to understand what they are doing. You need to see tool calls, intermediate steps, token usage, outcomes, and failures rather than leaving them hidden in logs.
In the workshop, we used dltHub Pro to build a pipeline that captures agent traces, normalizes them into a consistent schema, and transforms nested, variable-length trace data into tables we can query and analyze.
Then we used this data to build reports. These reports help us understand how agents behave, where they fail, and what we can improve. The goal was to stop flying blind and create a reporting layer that makes agent debugging more practical.
2) Updating the Agent Guardrails Workshop
I also updated the workshop on building an agent with guardrails.
In this workshop, we build a Data Engineering Zoomcamp FAQ agent. We start with a simple RAG baseline, turn it into an agent with one search tool, and then add guardrails around it.
We add input checks for topic and intent, output checks for unsafe promises or policy violations, and multiple guardrails with clear responsibilities. We also run guardrail checks concurrently so they do not add too much latency.
We write the examples in Python with Pydantic, minsearch, and the plain OpenAI Python SDK. I wanted the approach to stay framework-neutral, so we implement the agent loop and the guardrails directly instead of relying on a specific agent framework.
We take inspiration from the OpenAI Agents SDK guardrails, but we implement the guardrails ourselves. If your agent framework does not provide input and output guardrails, you can still use the same approach.
3) Adapting a Resume with AI
Another workshop was about adapting a resume with AI.
We built a pipeline that starts with a general resume for an engineering role. Once we have that base version, we adapt it to a specific domain, for example, education. At this stage, we make the experience most relevant to that domain more visible.
Then we take one more step: we adapt the domain-specific resume to a concrete company. Instead of rewriting the resume randomly for every application, we move through three levels:
General resume for the role
Resume adapted to the domain
Resume adapted to a specific company in that domain
That was the main idea of the workshop: use AI not just to rewrite a resume, but to create a structured process for positioning your experience.
Interesting Tools
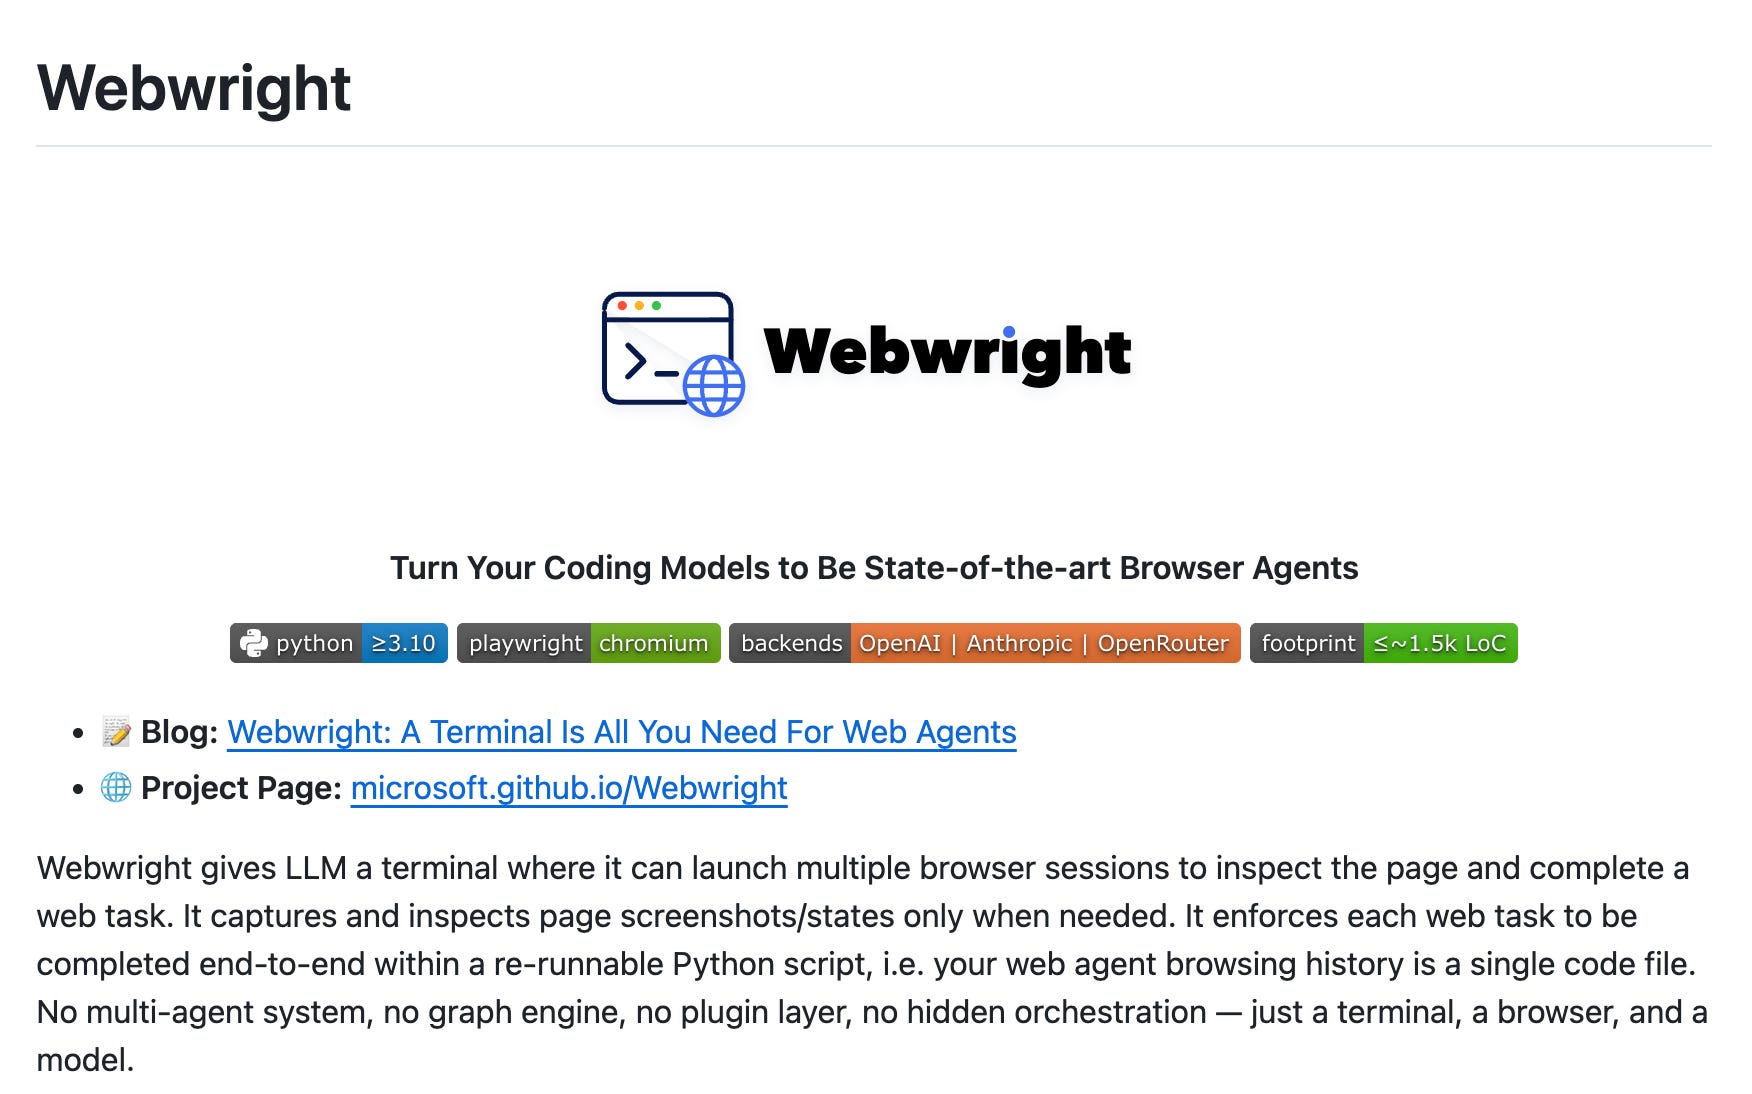
Webwright is a lightweight, terminal-based browser agent framework from Microsoft that gives an LLM a CLI to spawn browser sessions and complete web tasks. Instead of the step-by-step Playwright MCP loop, it has the model write a re-runnable Python Playwright script end-to-end, so the agent’s browsing history becomes a single code file you can rerun, adapt, and debug. It’s a CLI alternative to Playwright MCP for browser testing and automation, built on just httpx, pydantic, playwright, and typer, with OpenAI, Anthropic, and OpenRouter backends.
Edited by Valeriia Kuka